Back in 2016, I decided to make myself a wooden stand-up paddle board because I wanted one and it would also be a challenge to make something new. I did some research online and found that Paulownia, considered a weed tree in our area, is one of the best woods for this sort of project. After searching around a bit, I found a place where I could get a few Paulownia logs and had them delivered to my house.

The first step was to mill the logs with my alaska mill to cut them into thick planks. Then they were stacked and set aside to dry.

Three years later in August of 2019, the wood was finally dry enough to use. It takes about a year per inch of thickness to dry, so I knew what I was in for from the start with this project.

Using 3/4” plywood, I made up a rocker template that was the approximate profile of the paddle board. That was then used to mark out pieces to be cut out from the larger planks.

After cutting out enough pieces, I tacked them together into a large blank. All the boards were screwed together except for the center joint which was lightly glued. This was the best way to assemble the blank because it will need to be disassembled in a later stage.

Using a template I found online, I laid out the overall shape of the paddleboard.

I used a jigsaw with an extra long blade to trim off the excess material, and at that point it really started looking like something.

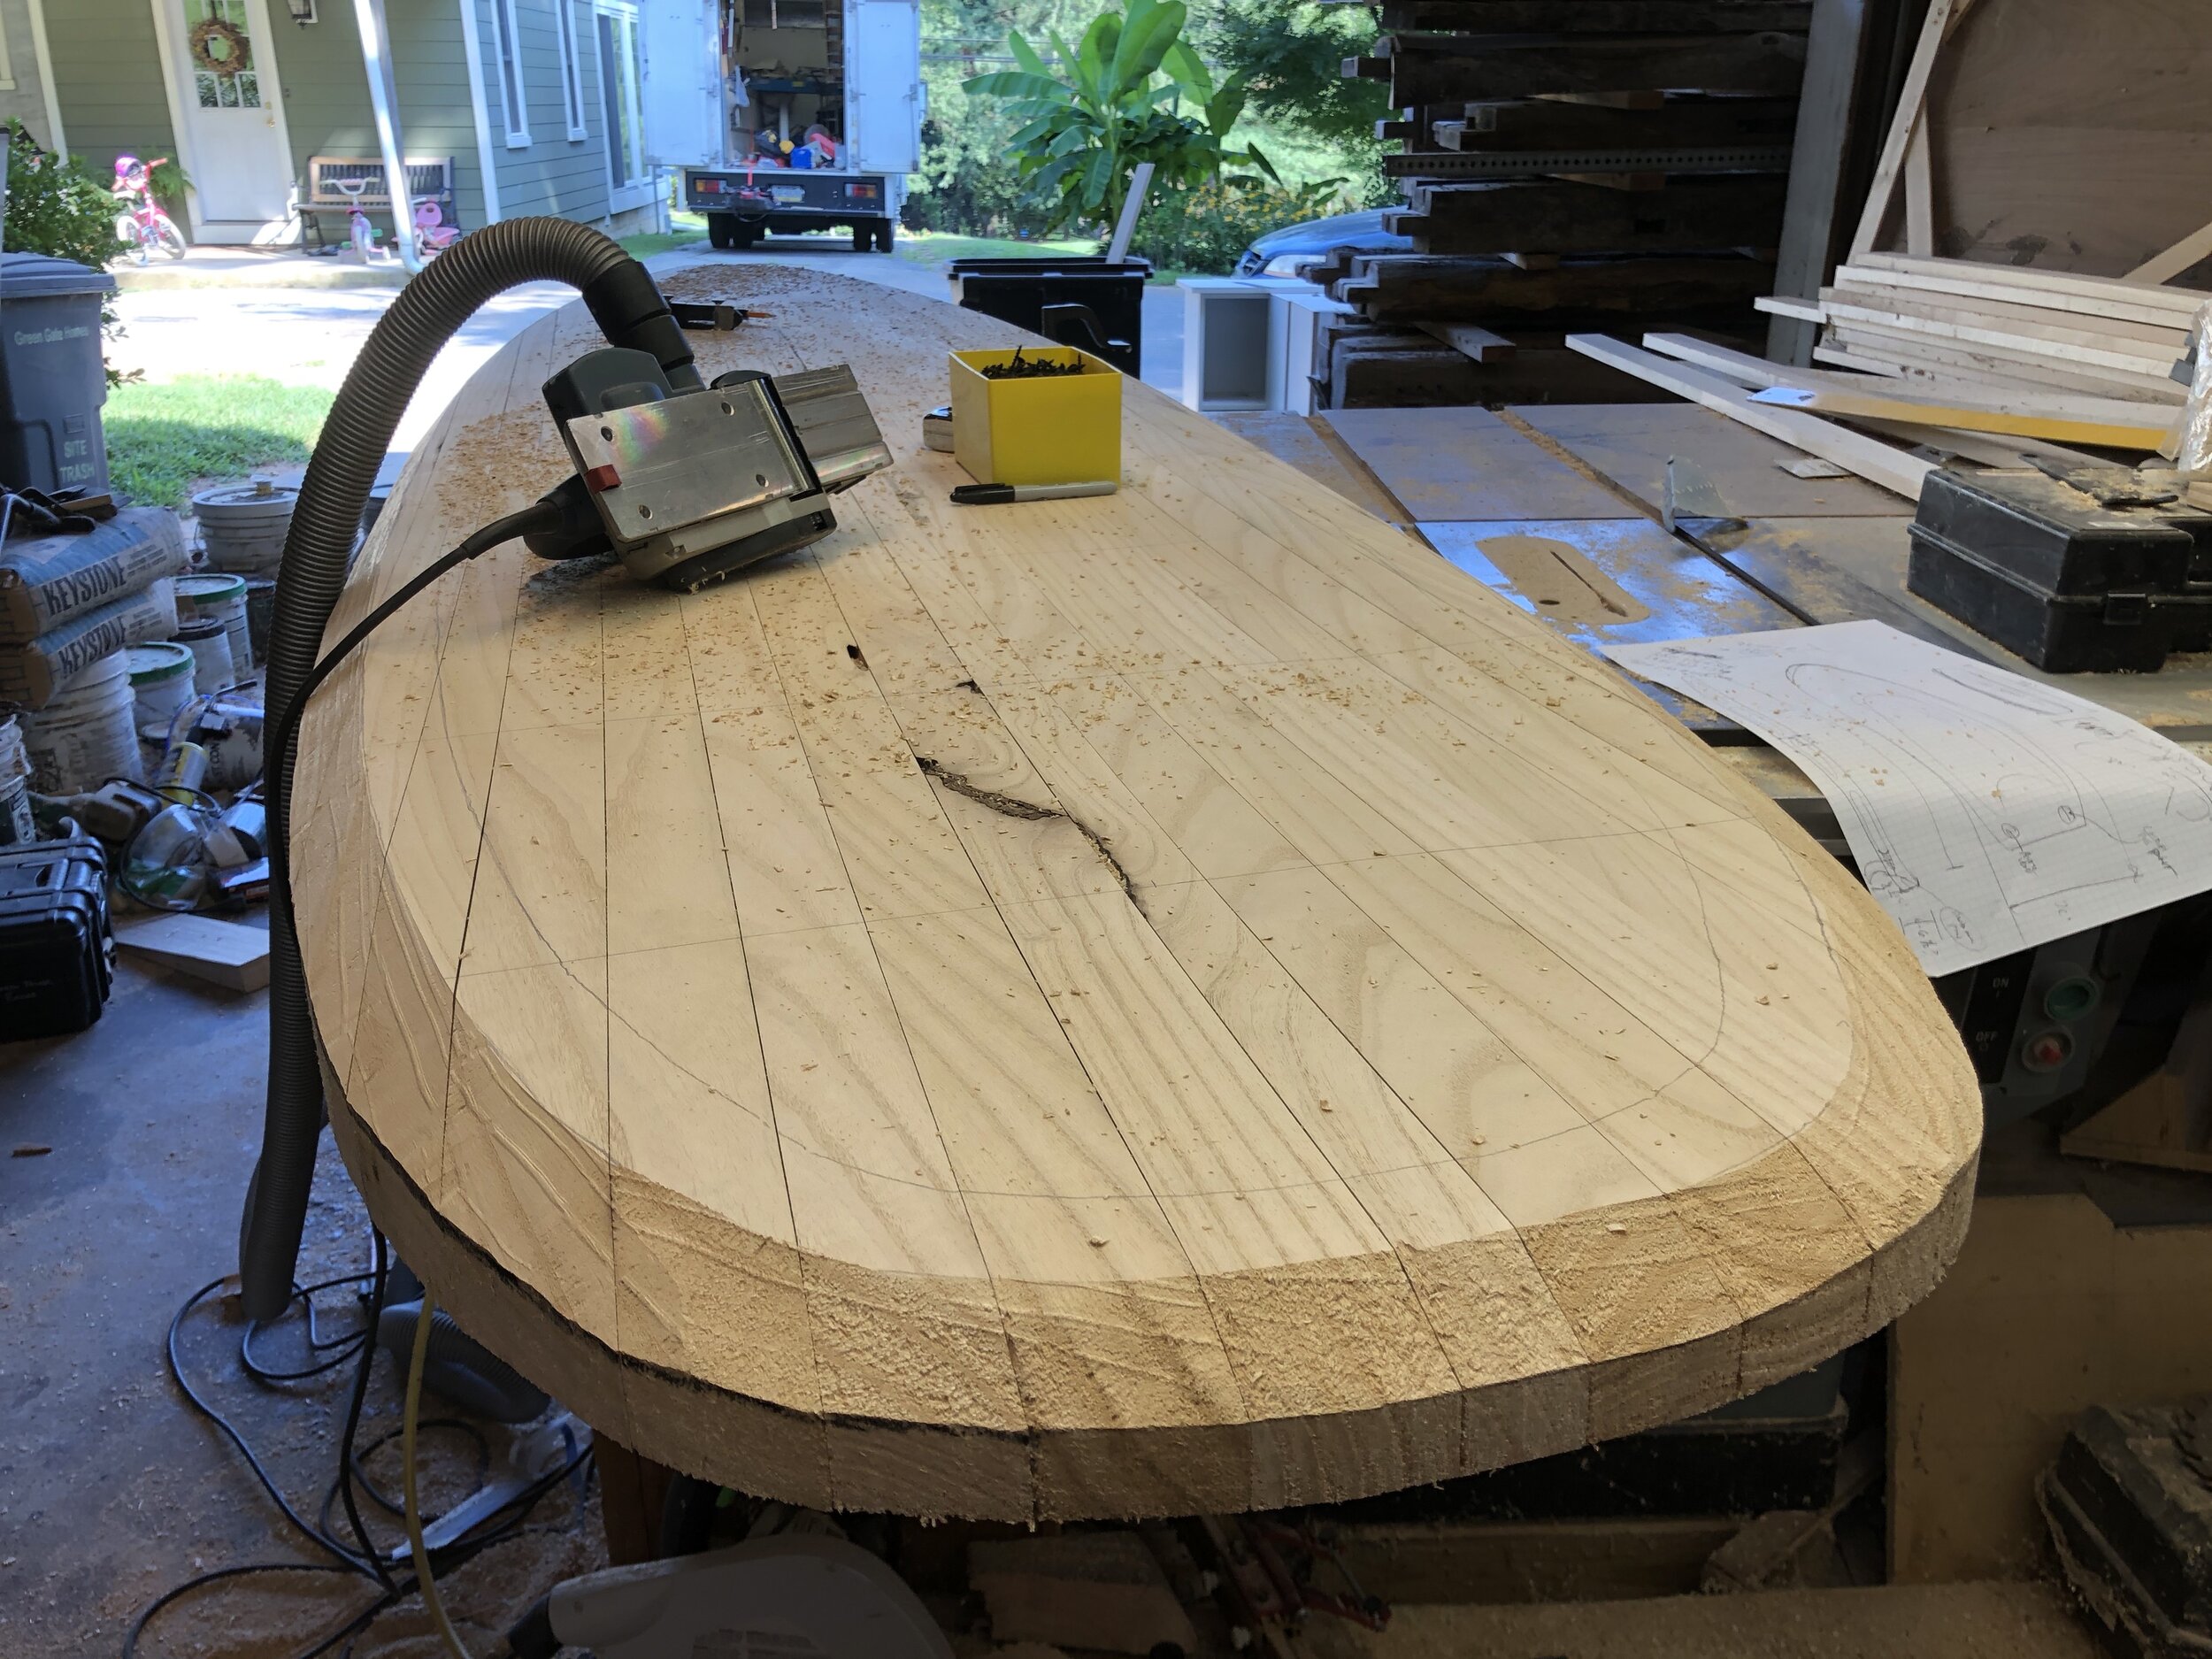
The next step was to shape the rails of the board using a power planer.

After the rails were shaped, I used a random orbital sander to sand the blank down to a rough shape.

Next I carefully broke apart the center joint of the blank (the one that had a small amount of glue holding it together). After that I removed the screws holding the rest of the blank together and separated the individual boards.

I marked each board with a sharpie to show where material could be removed to reduce the overall weight of the paddleboard.

This was the end result after I removed the interior material.

The chambers of each board were offset from the next board to create one large chamber inside the paddleboard, while leaving enough vertical “posts” inside the chamber for structural support. Areas for a recessed handle and finbox were left solid so there was an area to mount them in later.

After chambering each board, I glued them back together and clamped up the entire assembly.

Once the glue had dried, I sanded the blank down to it’s final shape. The dark strip on the bottom of the board in this picture is a low area that had to be stained and filled with epoxy prior to final sanding and staining due to a natural defect in the wood.

After a few coats of stain, the paddleboard was ready to be fiberglassed.

Prior to applying the fiberglass, I installed the finbox in the bottom and a recessed handle in the top (shown here masked off with green tape). I also wanted to add in my company logo, so I printed it out on rice paper which will turn clear under the fiberglass coat.

This was taken after the first fiberglass coat, and you can see how the rice paper disappeared exactly as planned.

A close-up shot of my logo on the paddleboard, taken after multiple epoxy coats and some final sanding.

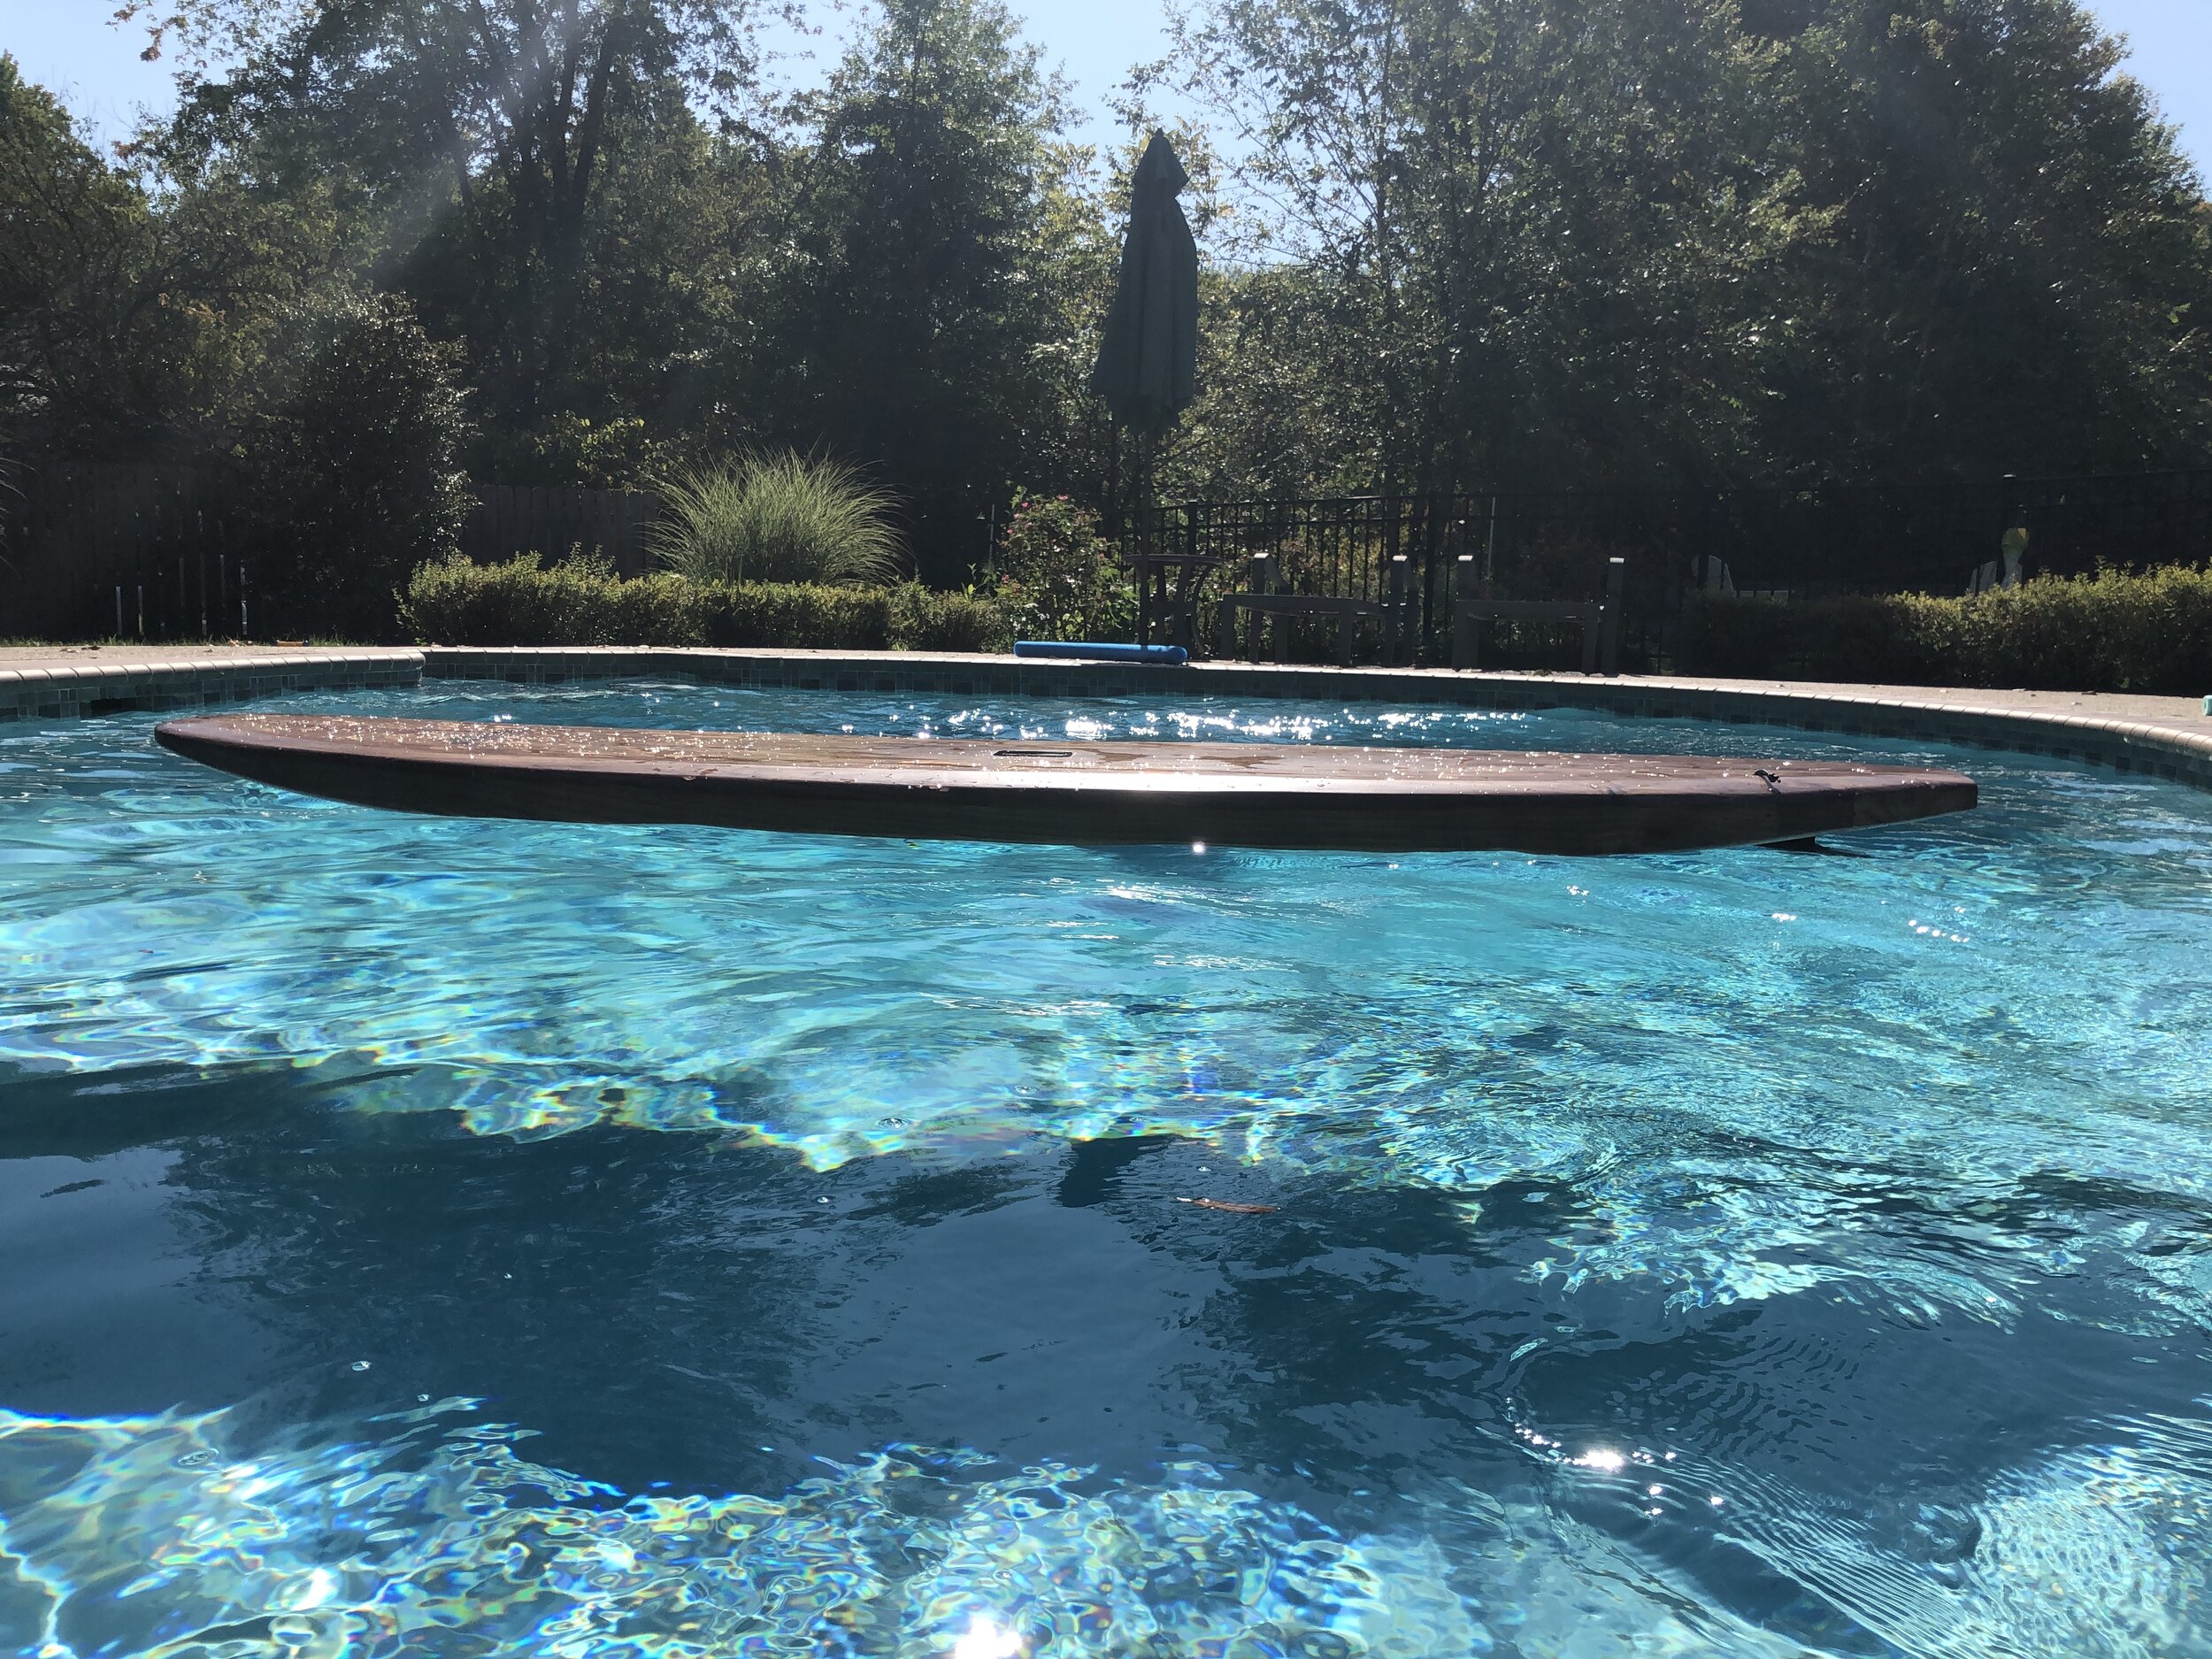
After installing the fin in the finbox, it was time to test it out.

Fortunately I have some friends nearby with a pool who were willing to let me do a “test float” to make sure everything worked properly.

Another picture from the test float.

Overall, this was a very fun and challenging project and I’m looking forward to many years of taking this out on our local lake for my morning exercise.
