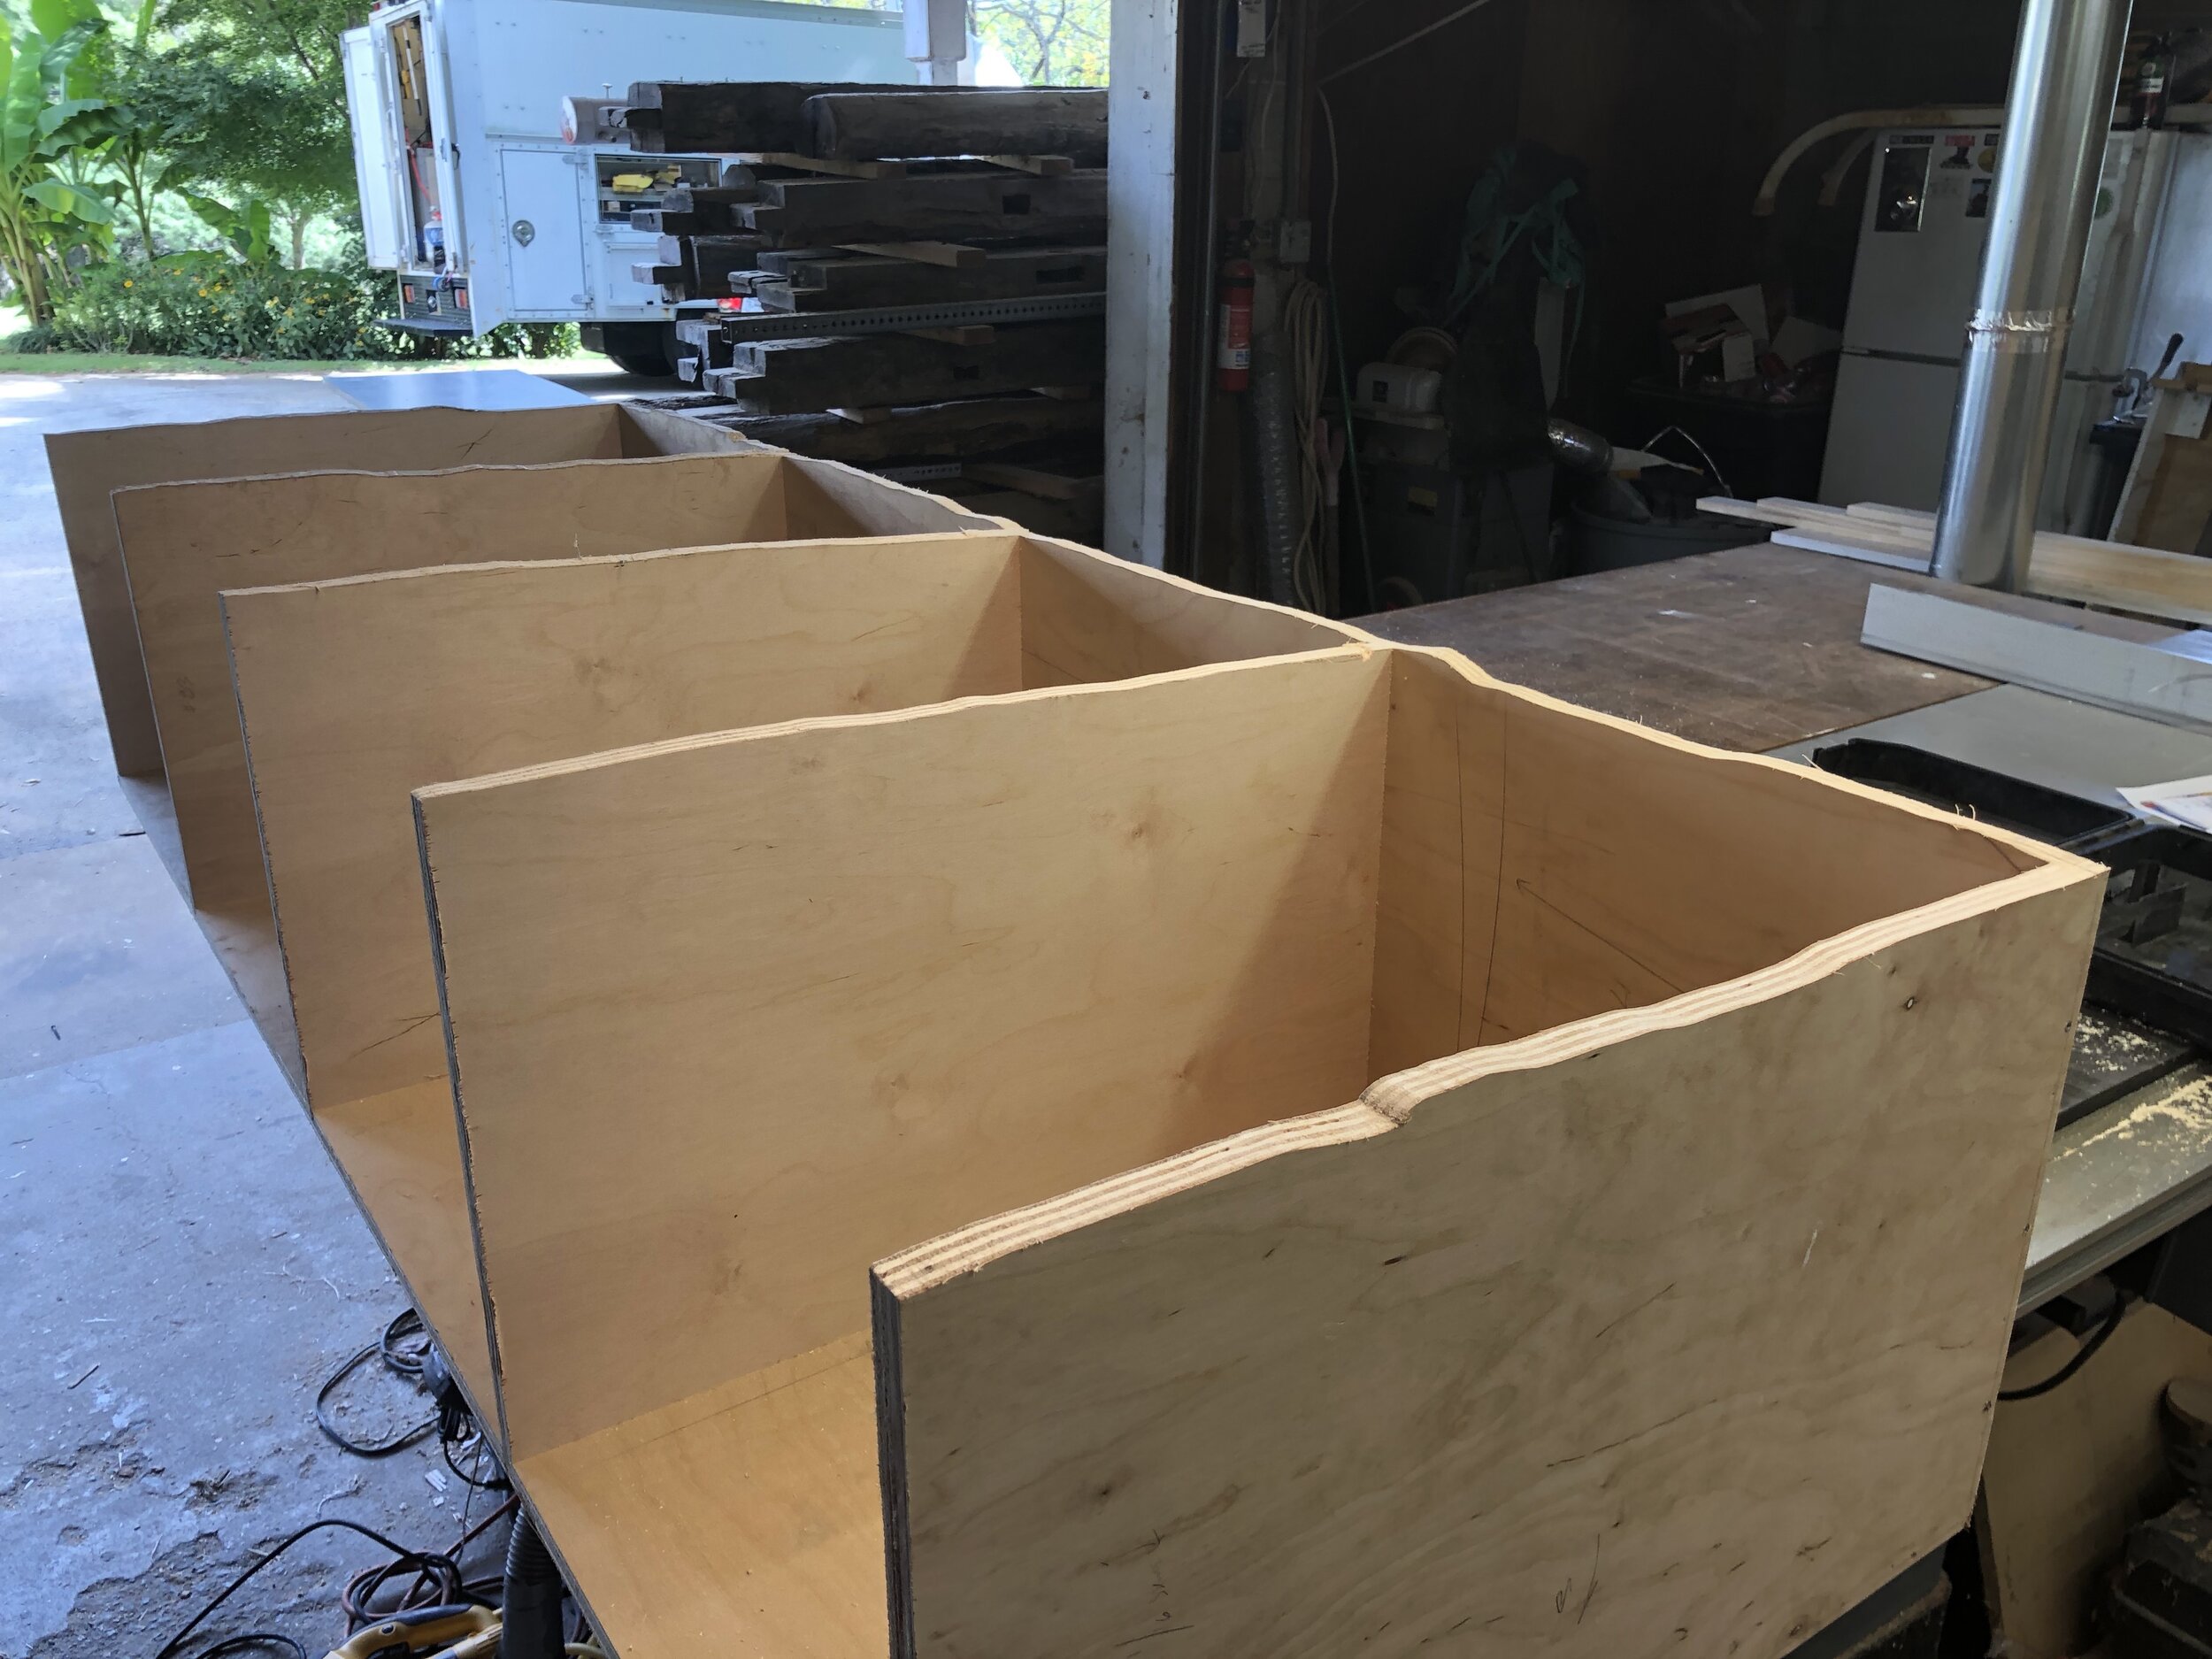
My mudroom was lacking proper storage for coats, book bags, etc, so I decided to make a set of lockers for my wife, myself, and my two daughters. I had installed a reclaimed brick floor in that room a few years prior, so when I built the lower case for the lockers I had to scribe it to fit the fairly uneven surface of the bricks. Here, you can see the lower locker case upside down after the wavy scribe cuts had been made.
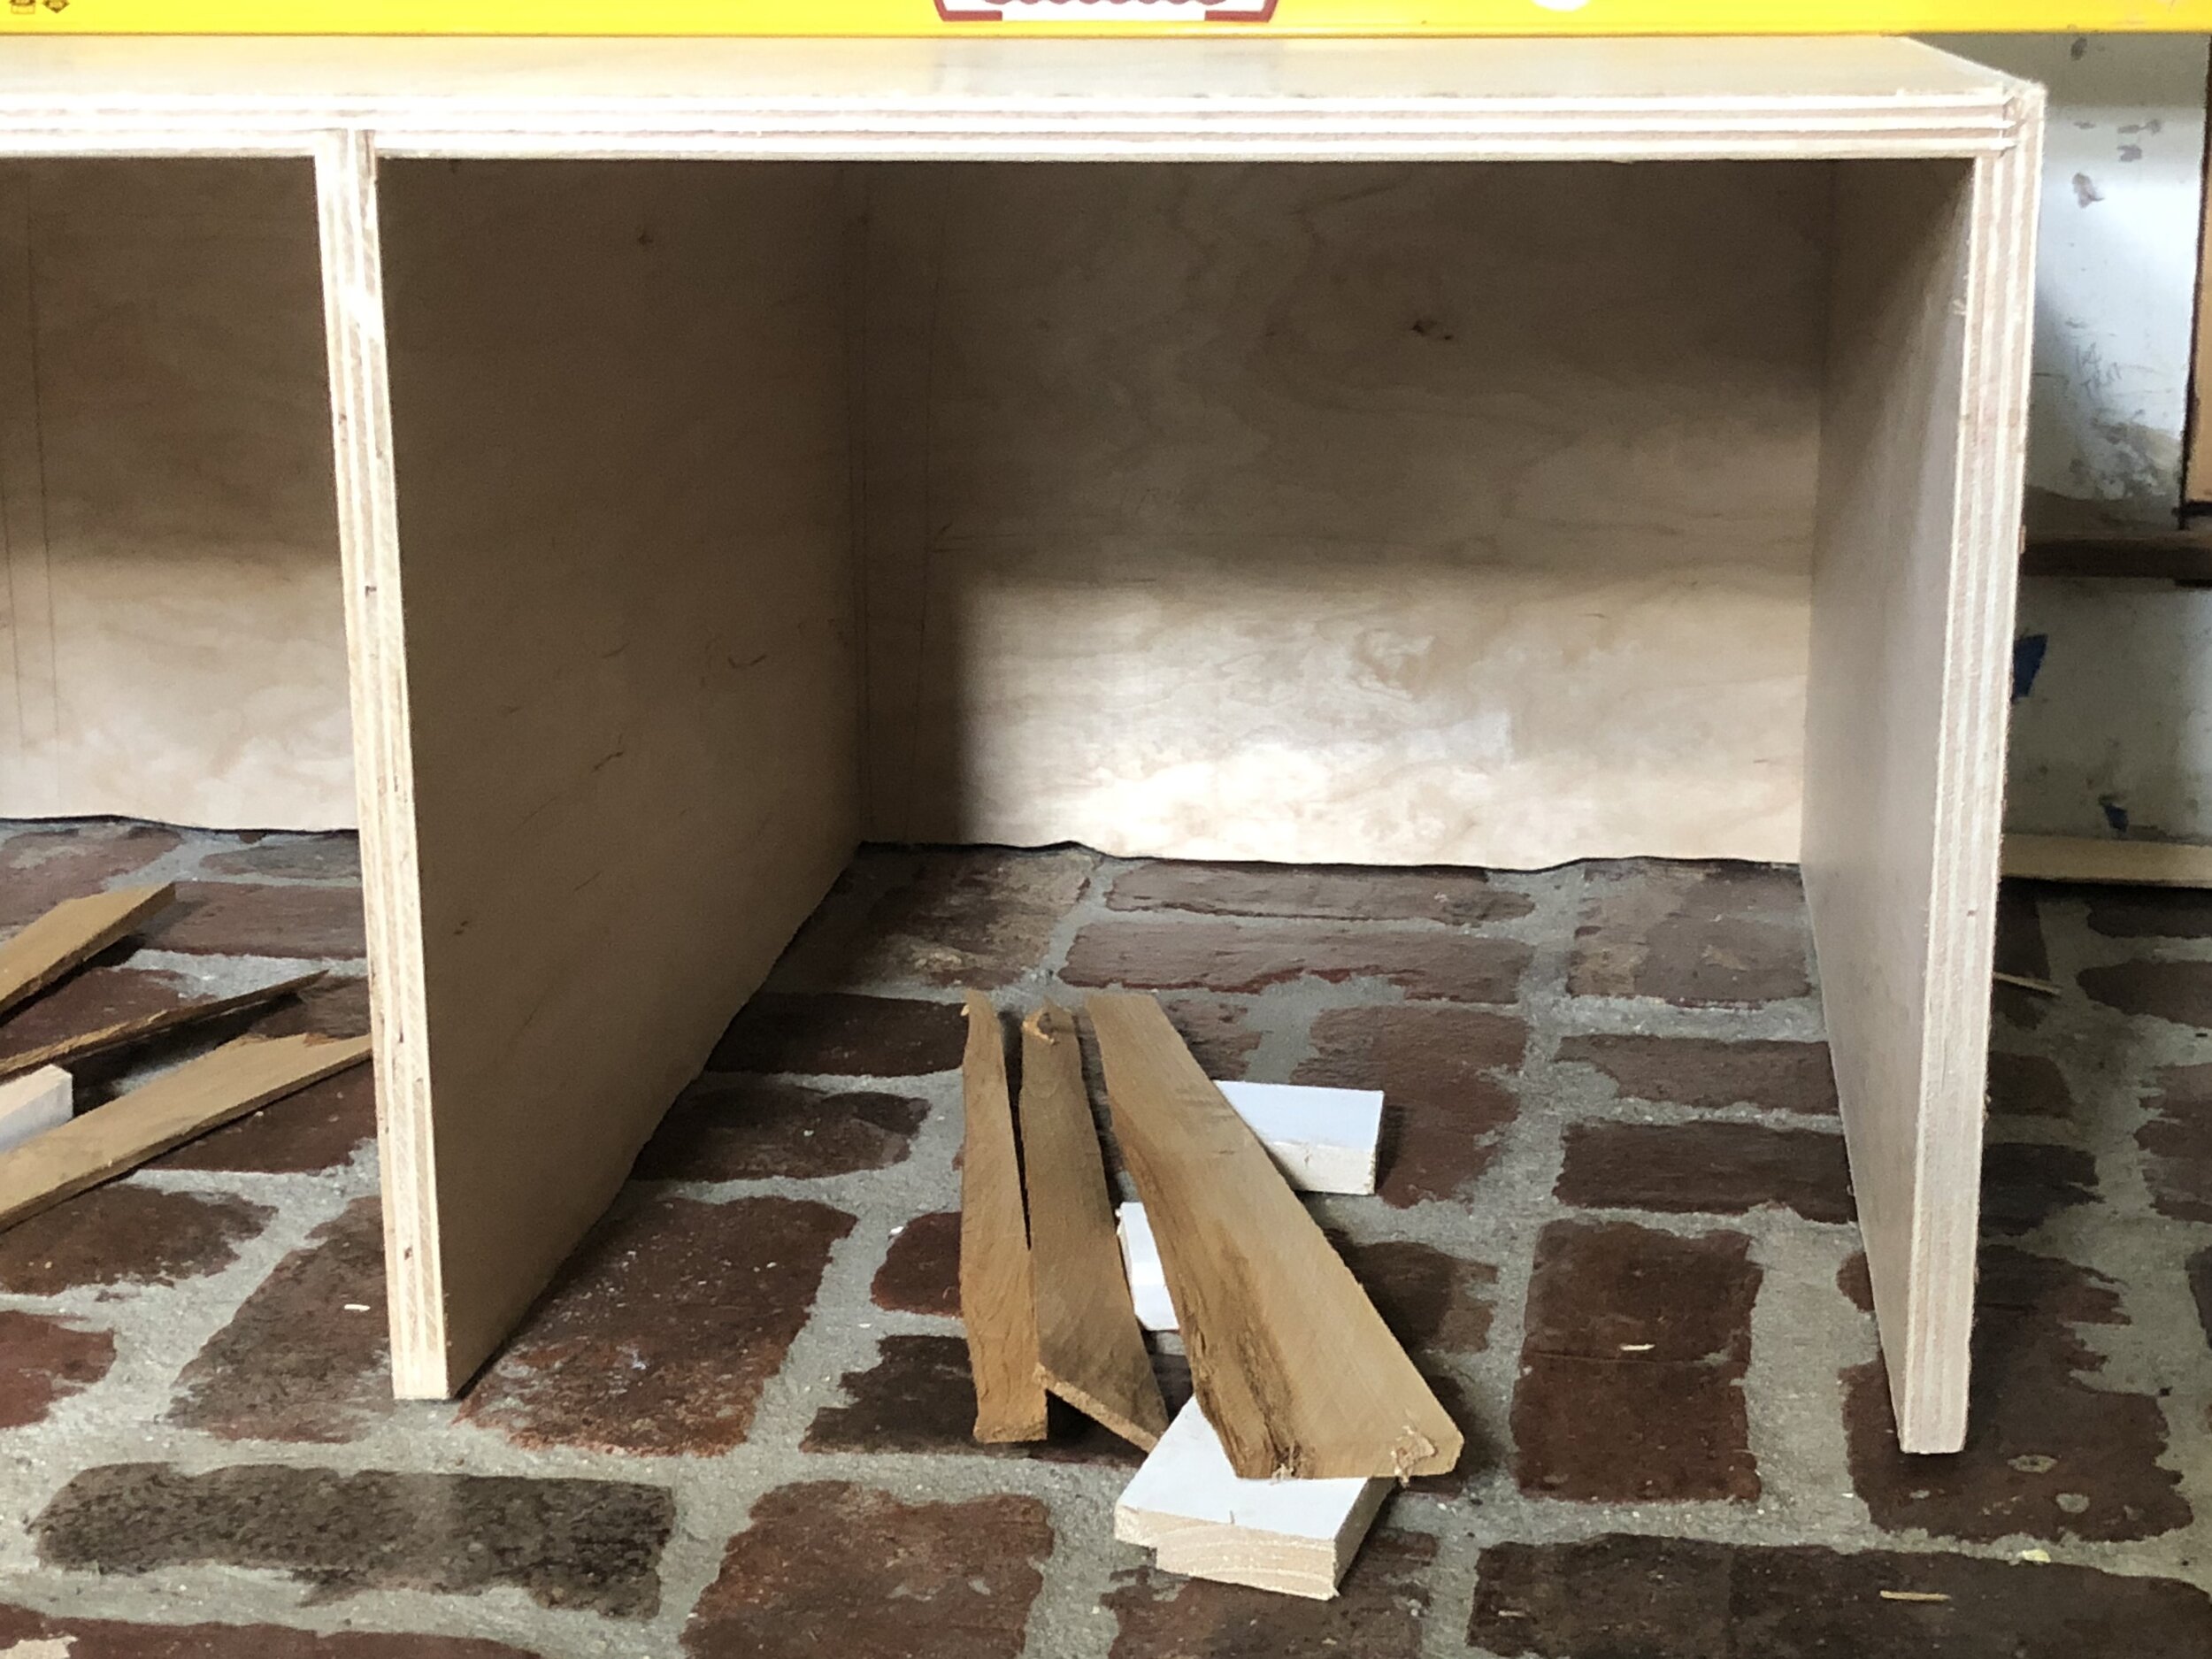
Here you can see how the scribe cuts fit in with the surface of the bricks.
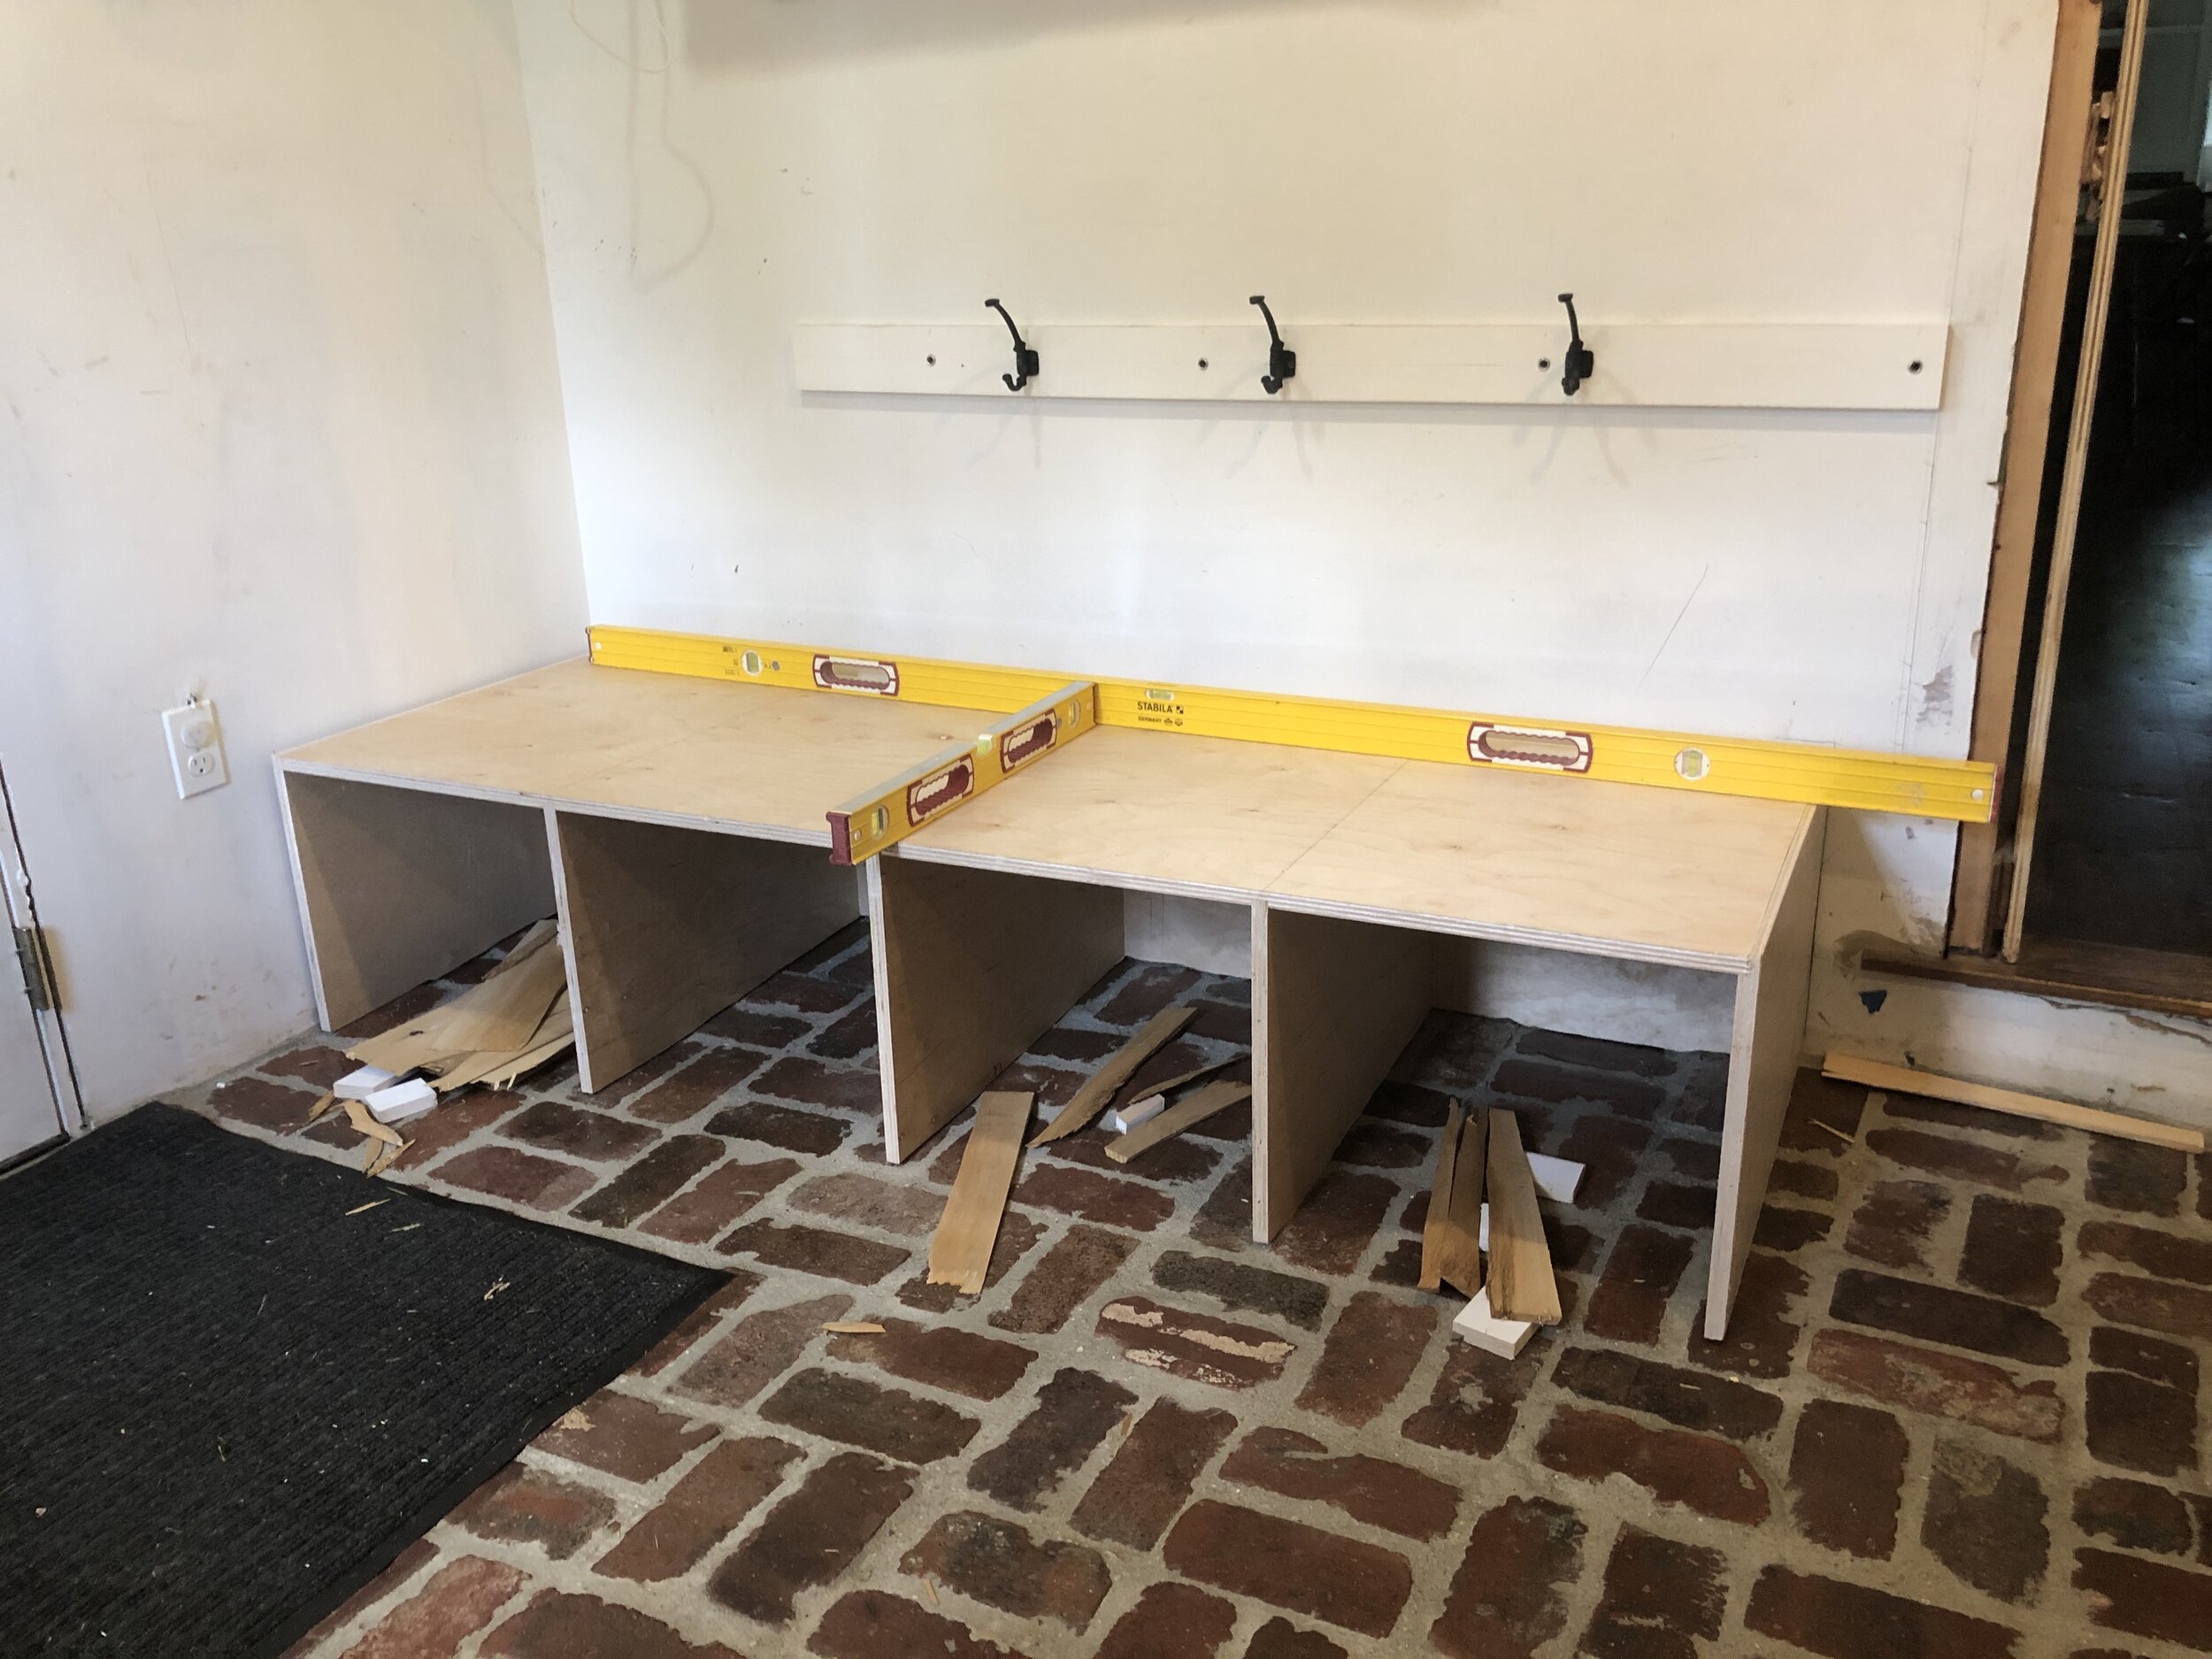
A wider shot of the installed lower case. The hooks in the background (and another row up higher out of view) are what we had used prior to this for hanging coats, etc.
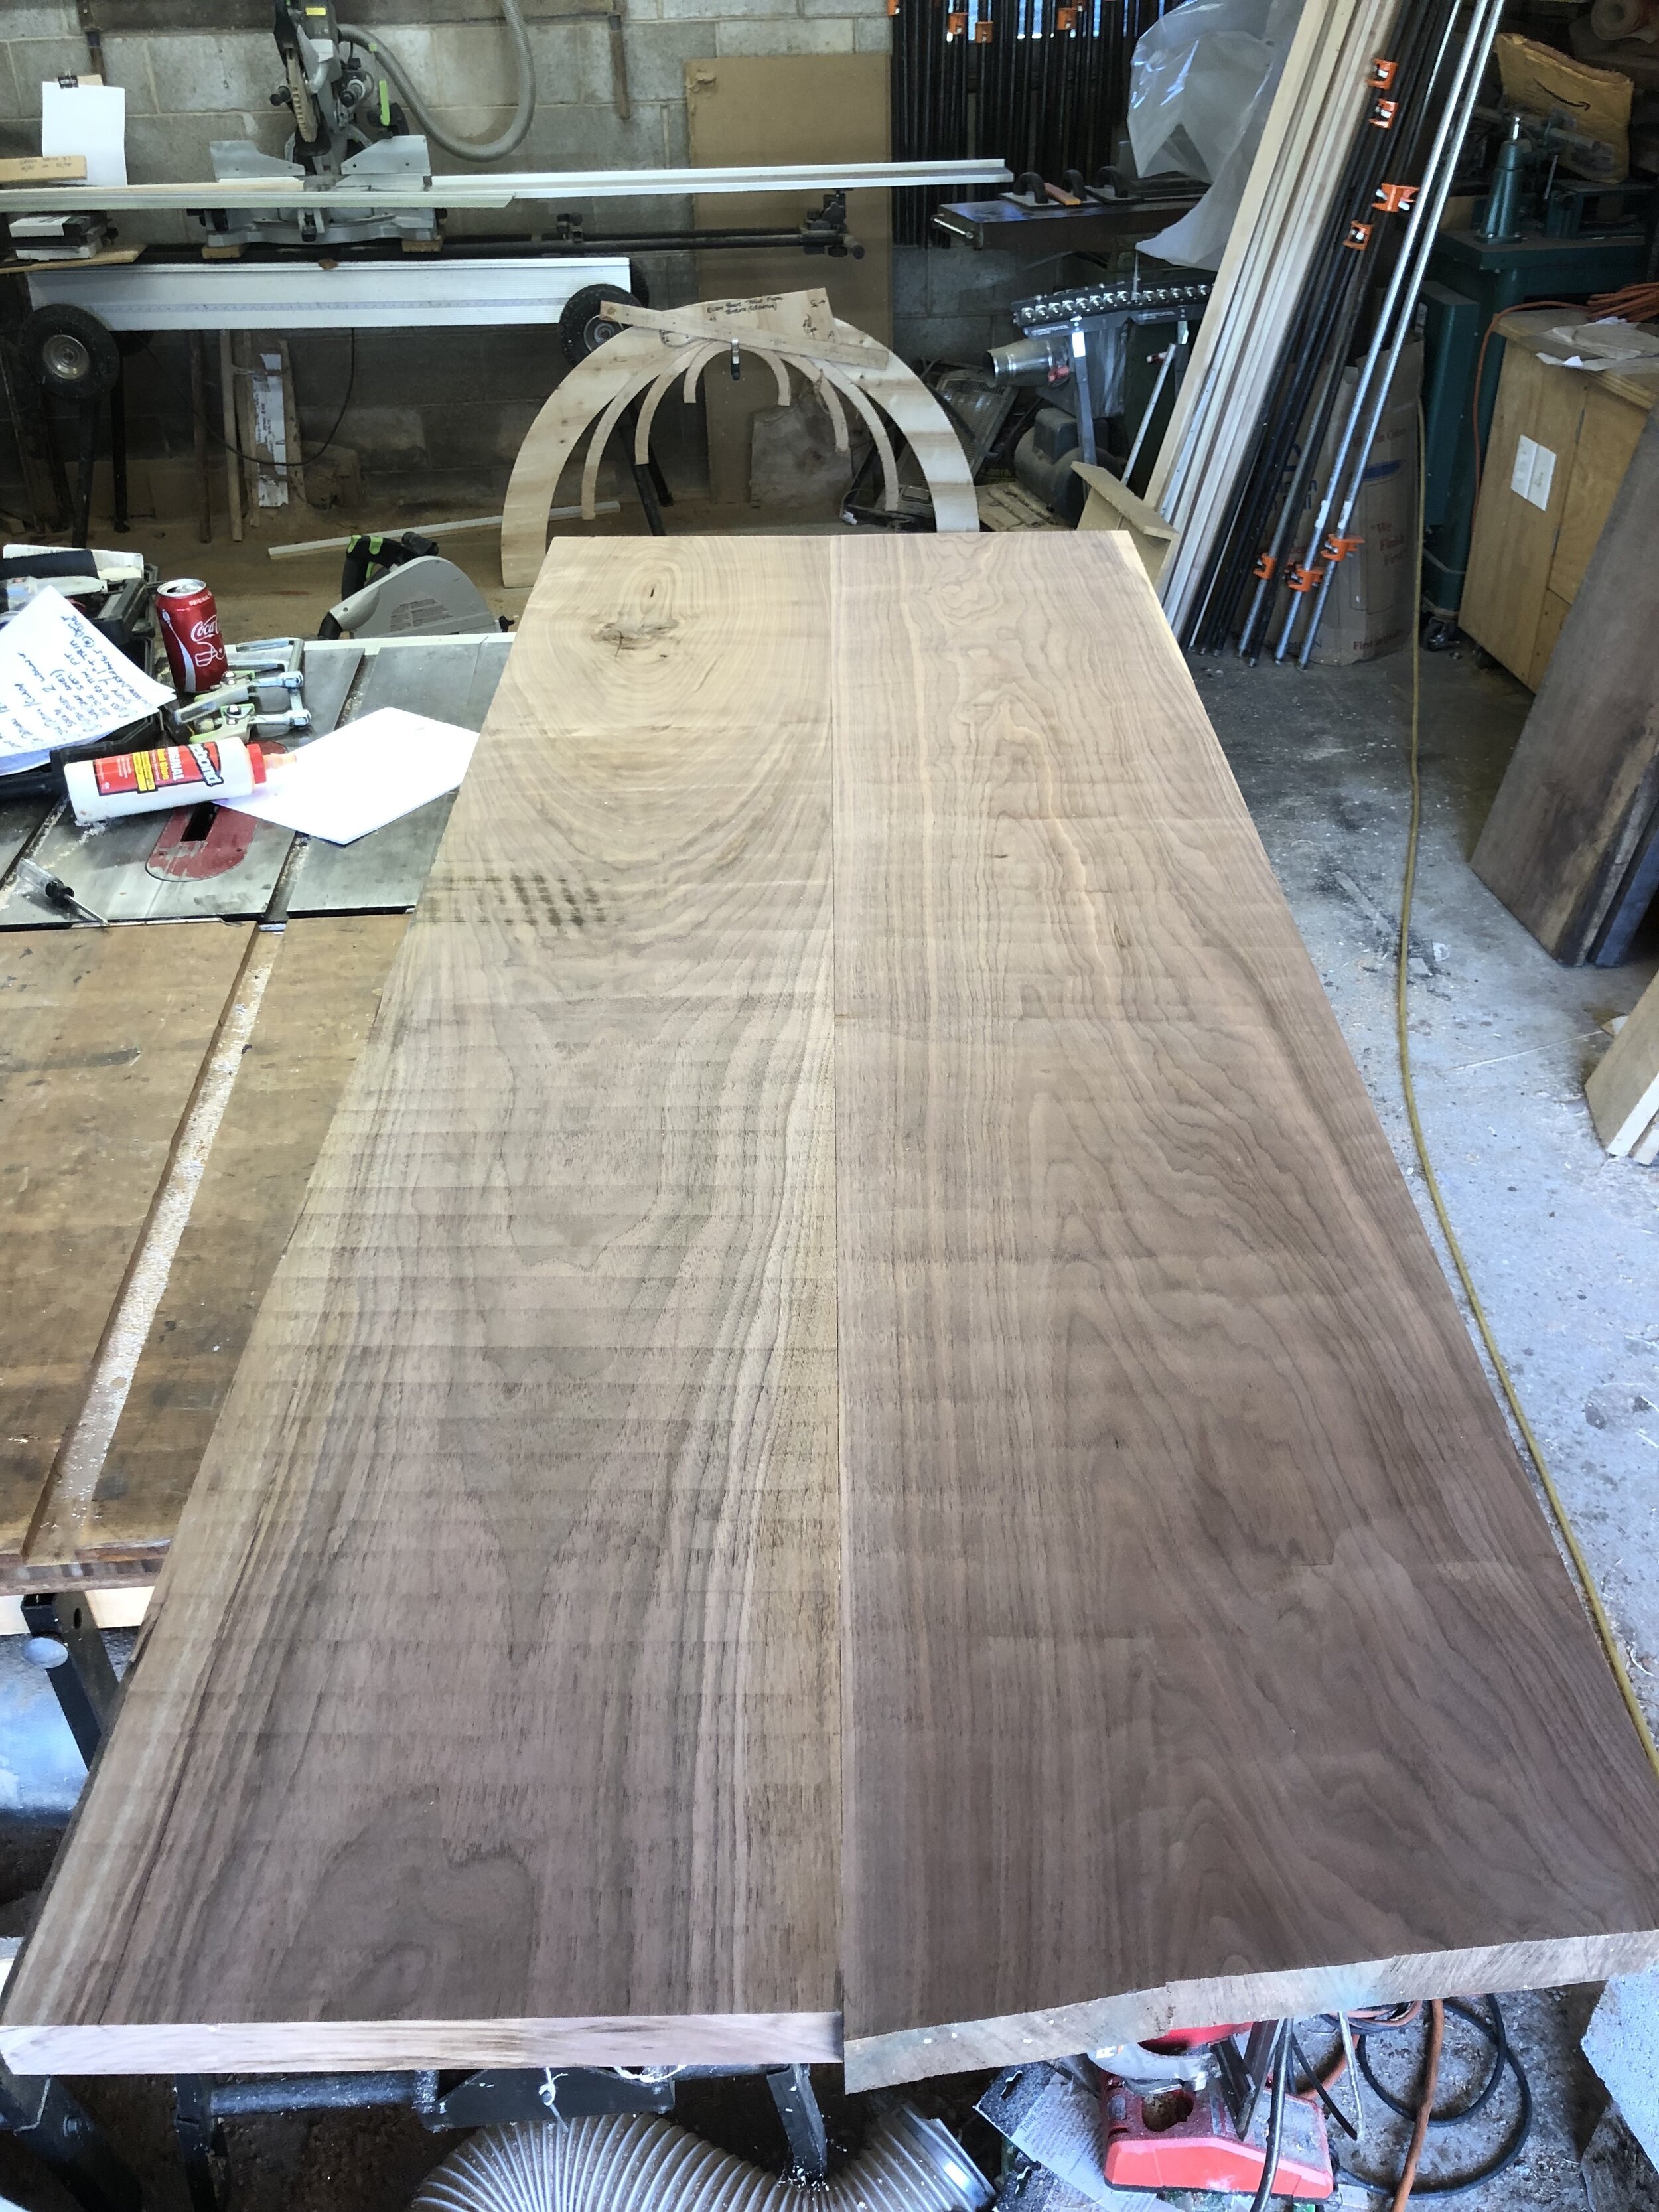
Next up was milling some black walnut planks to make a bench top. After I had them roughly planed to size, I played around with which sides to join up until I was happy with the look.
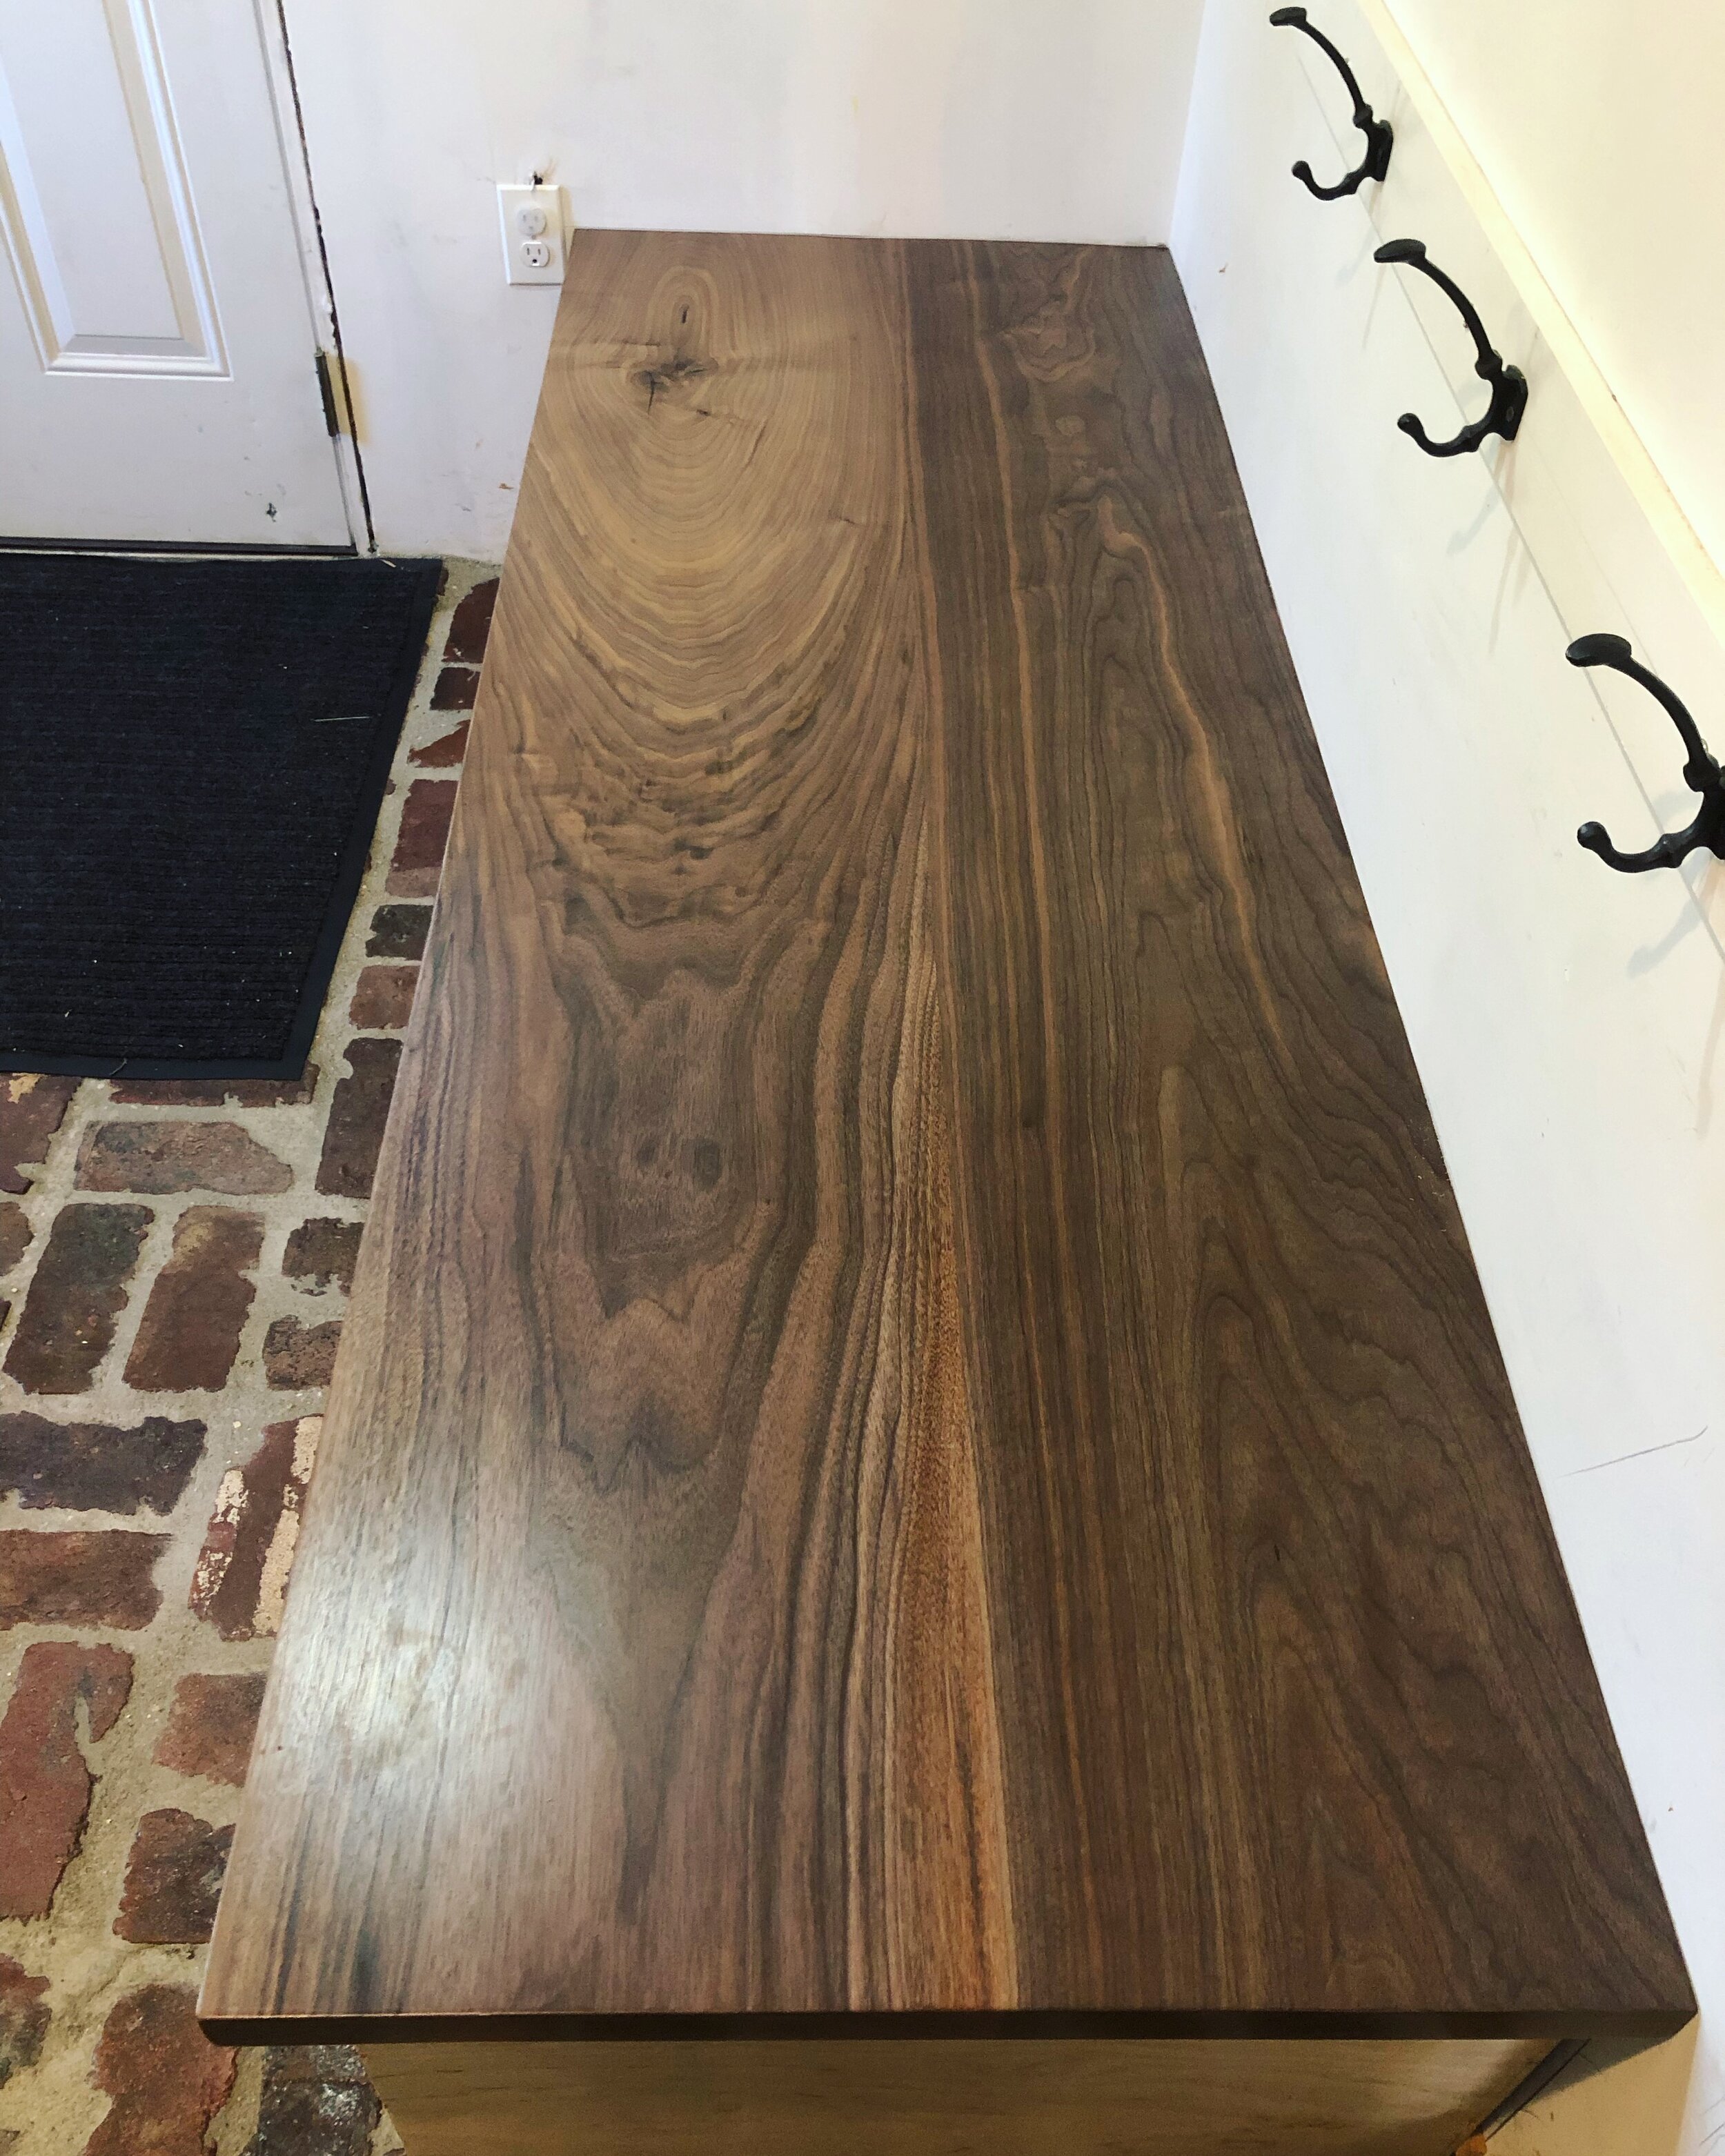
This is the finished top after it had been fit to the space, sanded, and then coated with a satin polyurethane.
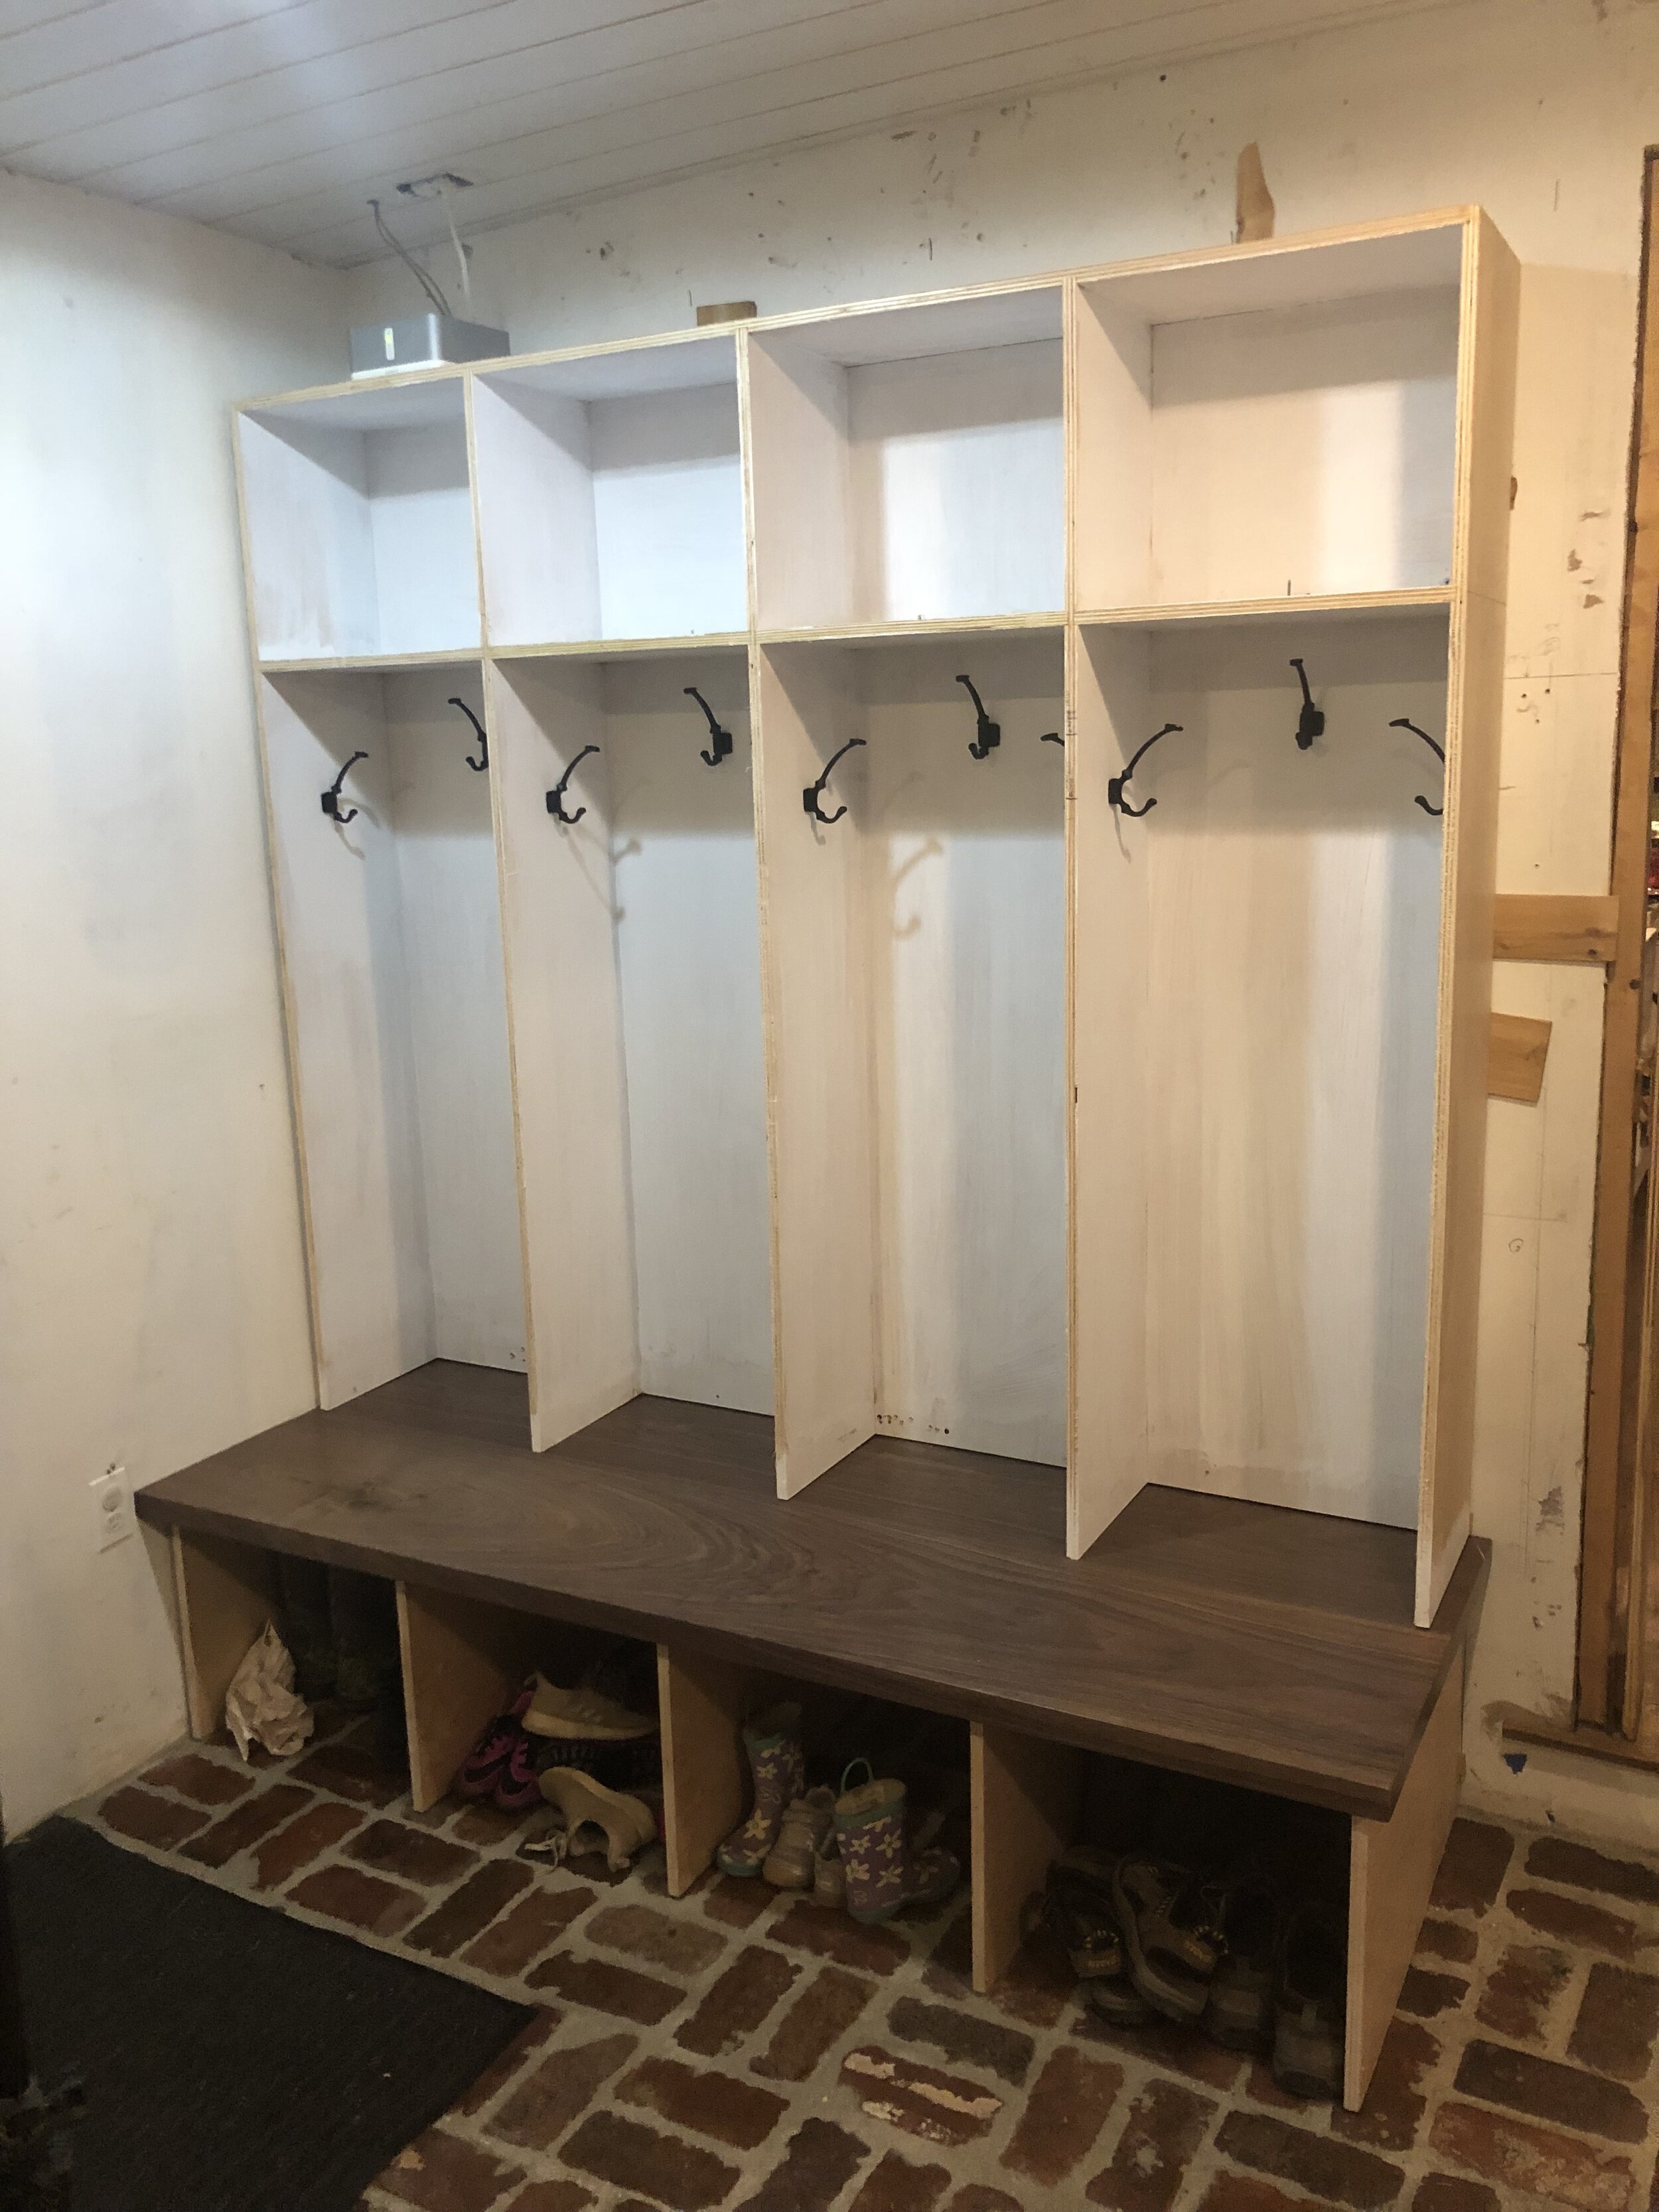
Next up was installing the upper units. After this it was on to face frames, end panels, etc.
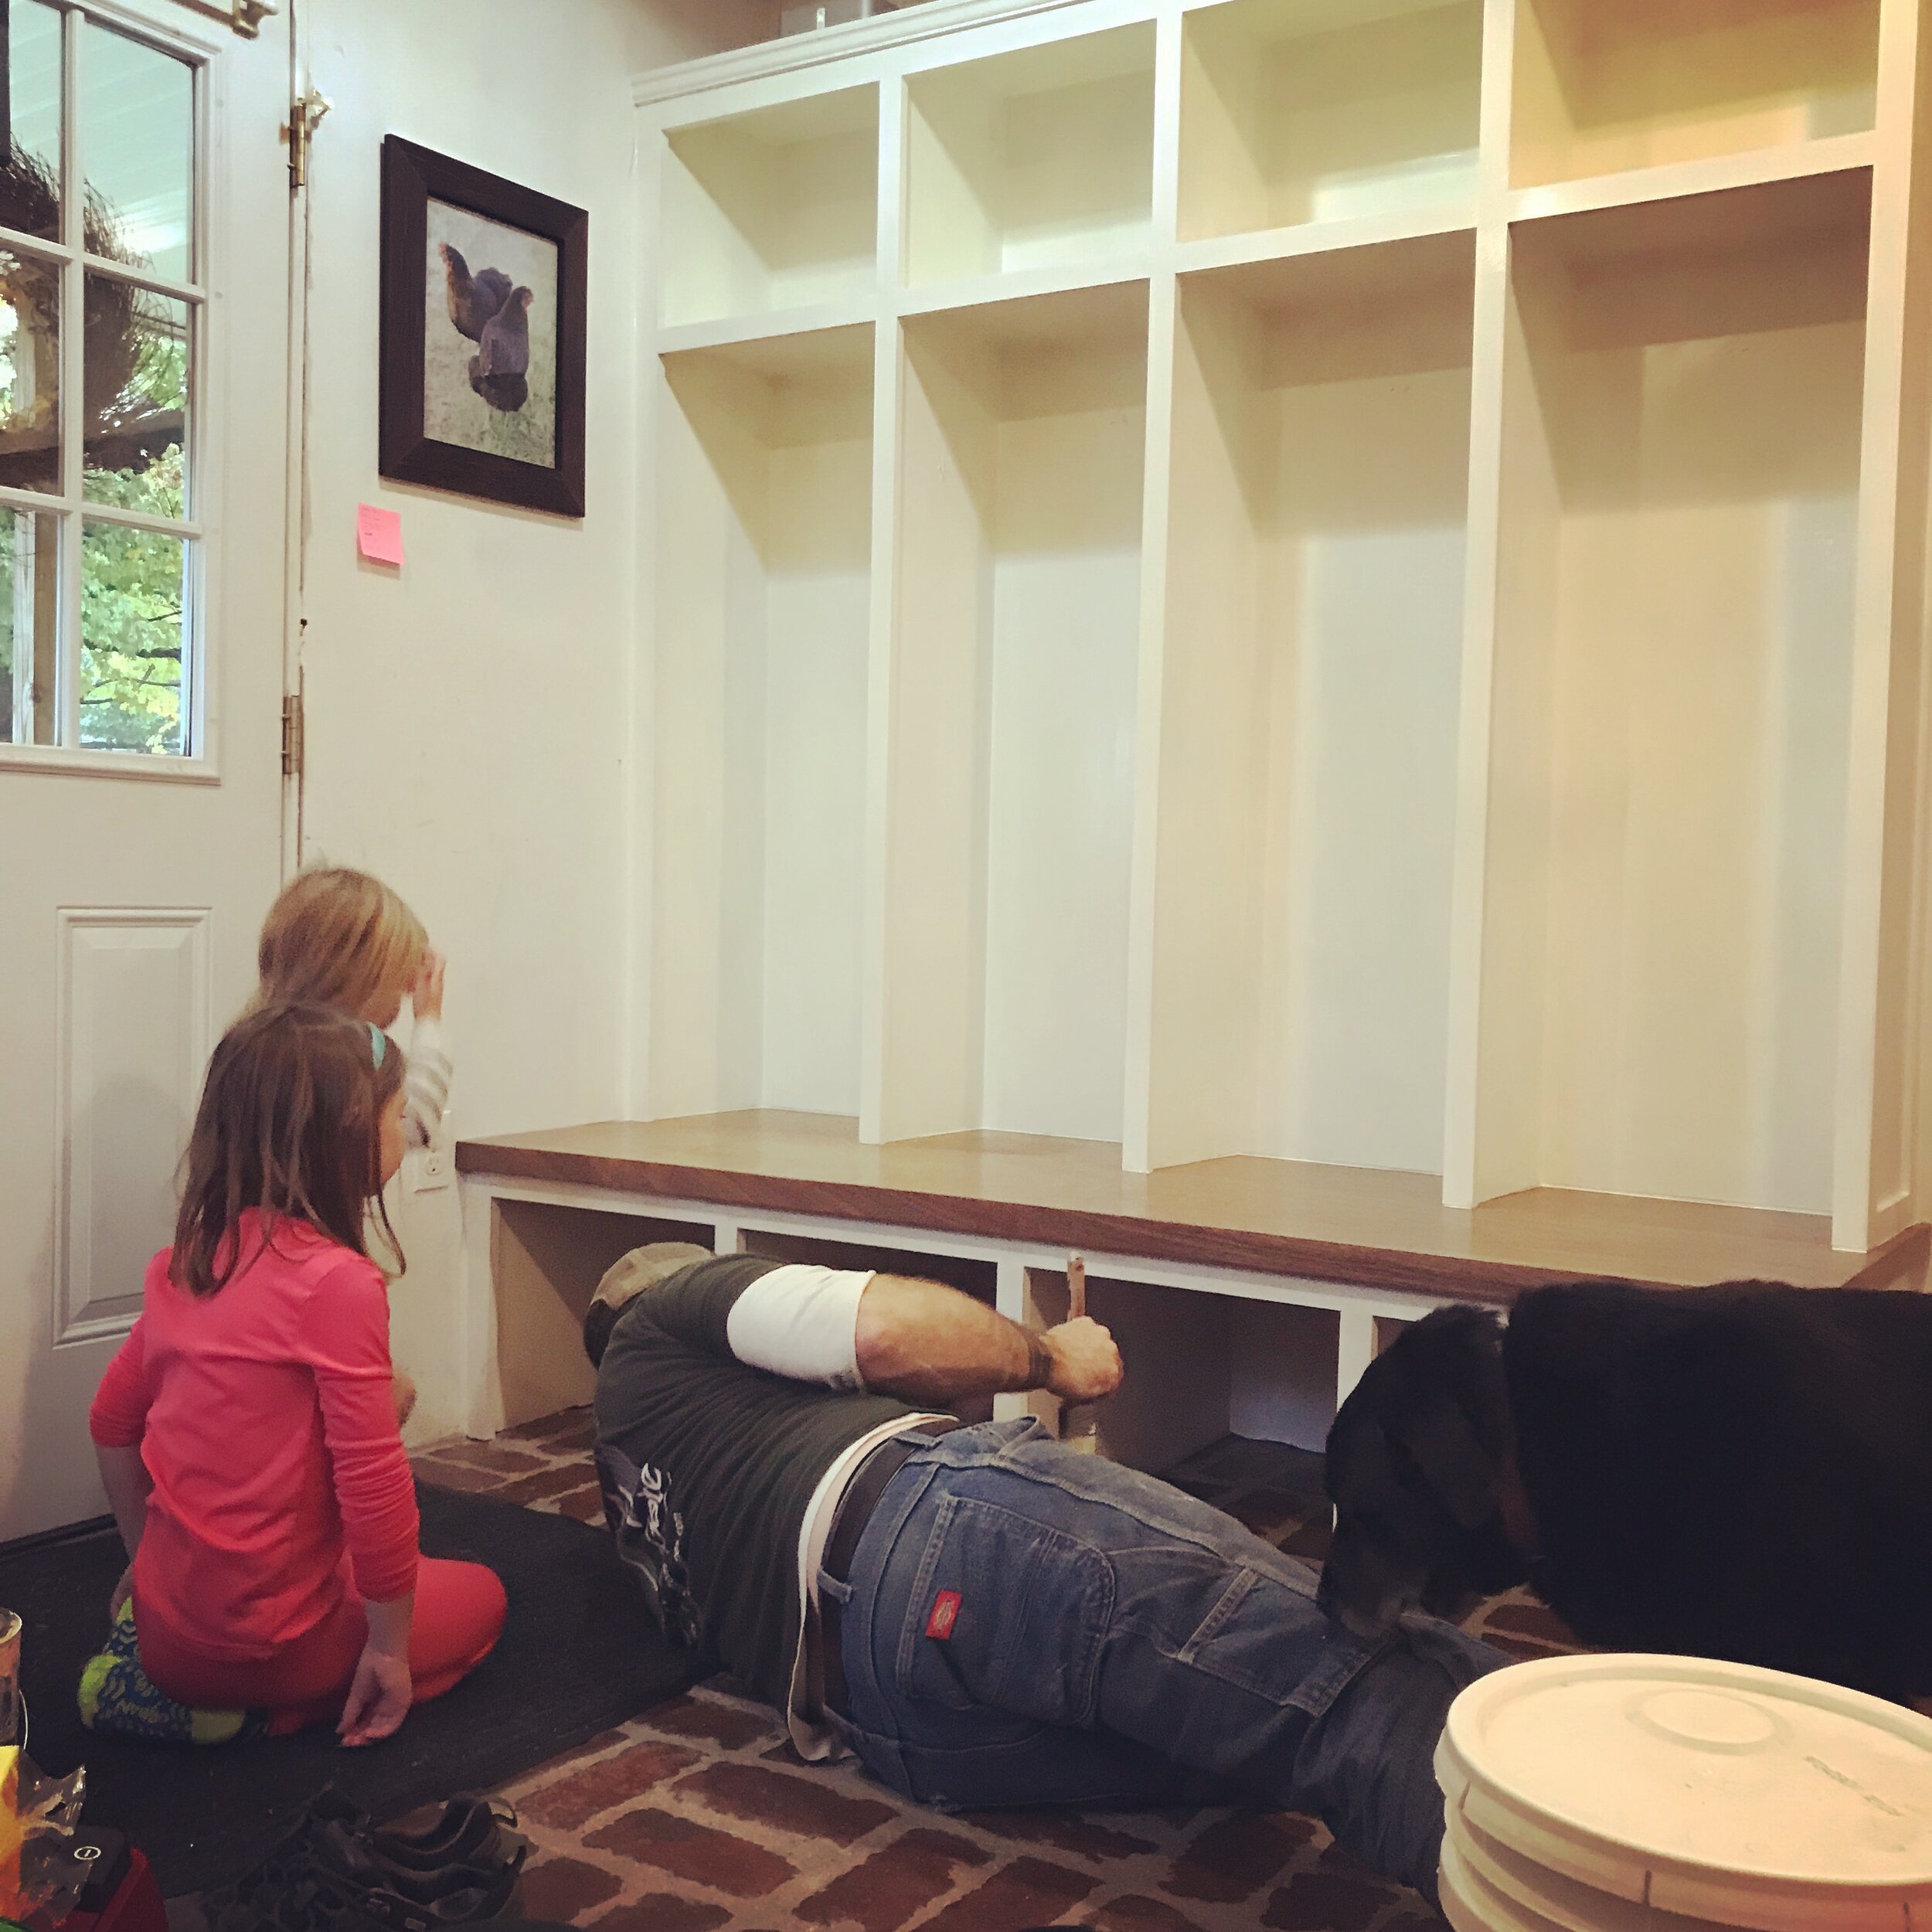
Here my helpers are keeping a close eye on me and asking a million questions while I touch up the final coat of paint.
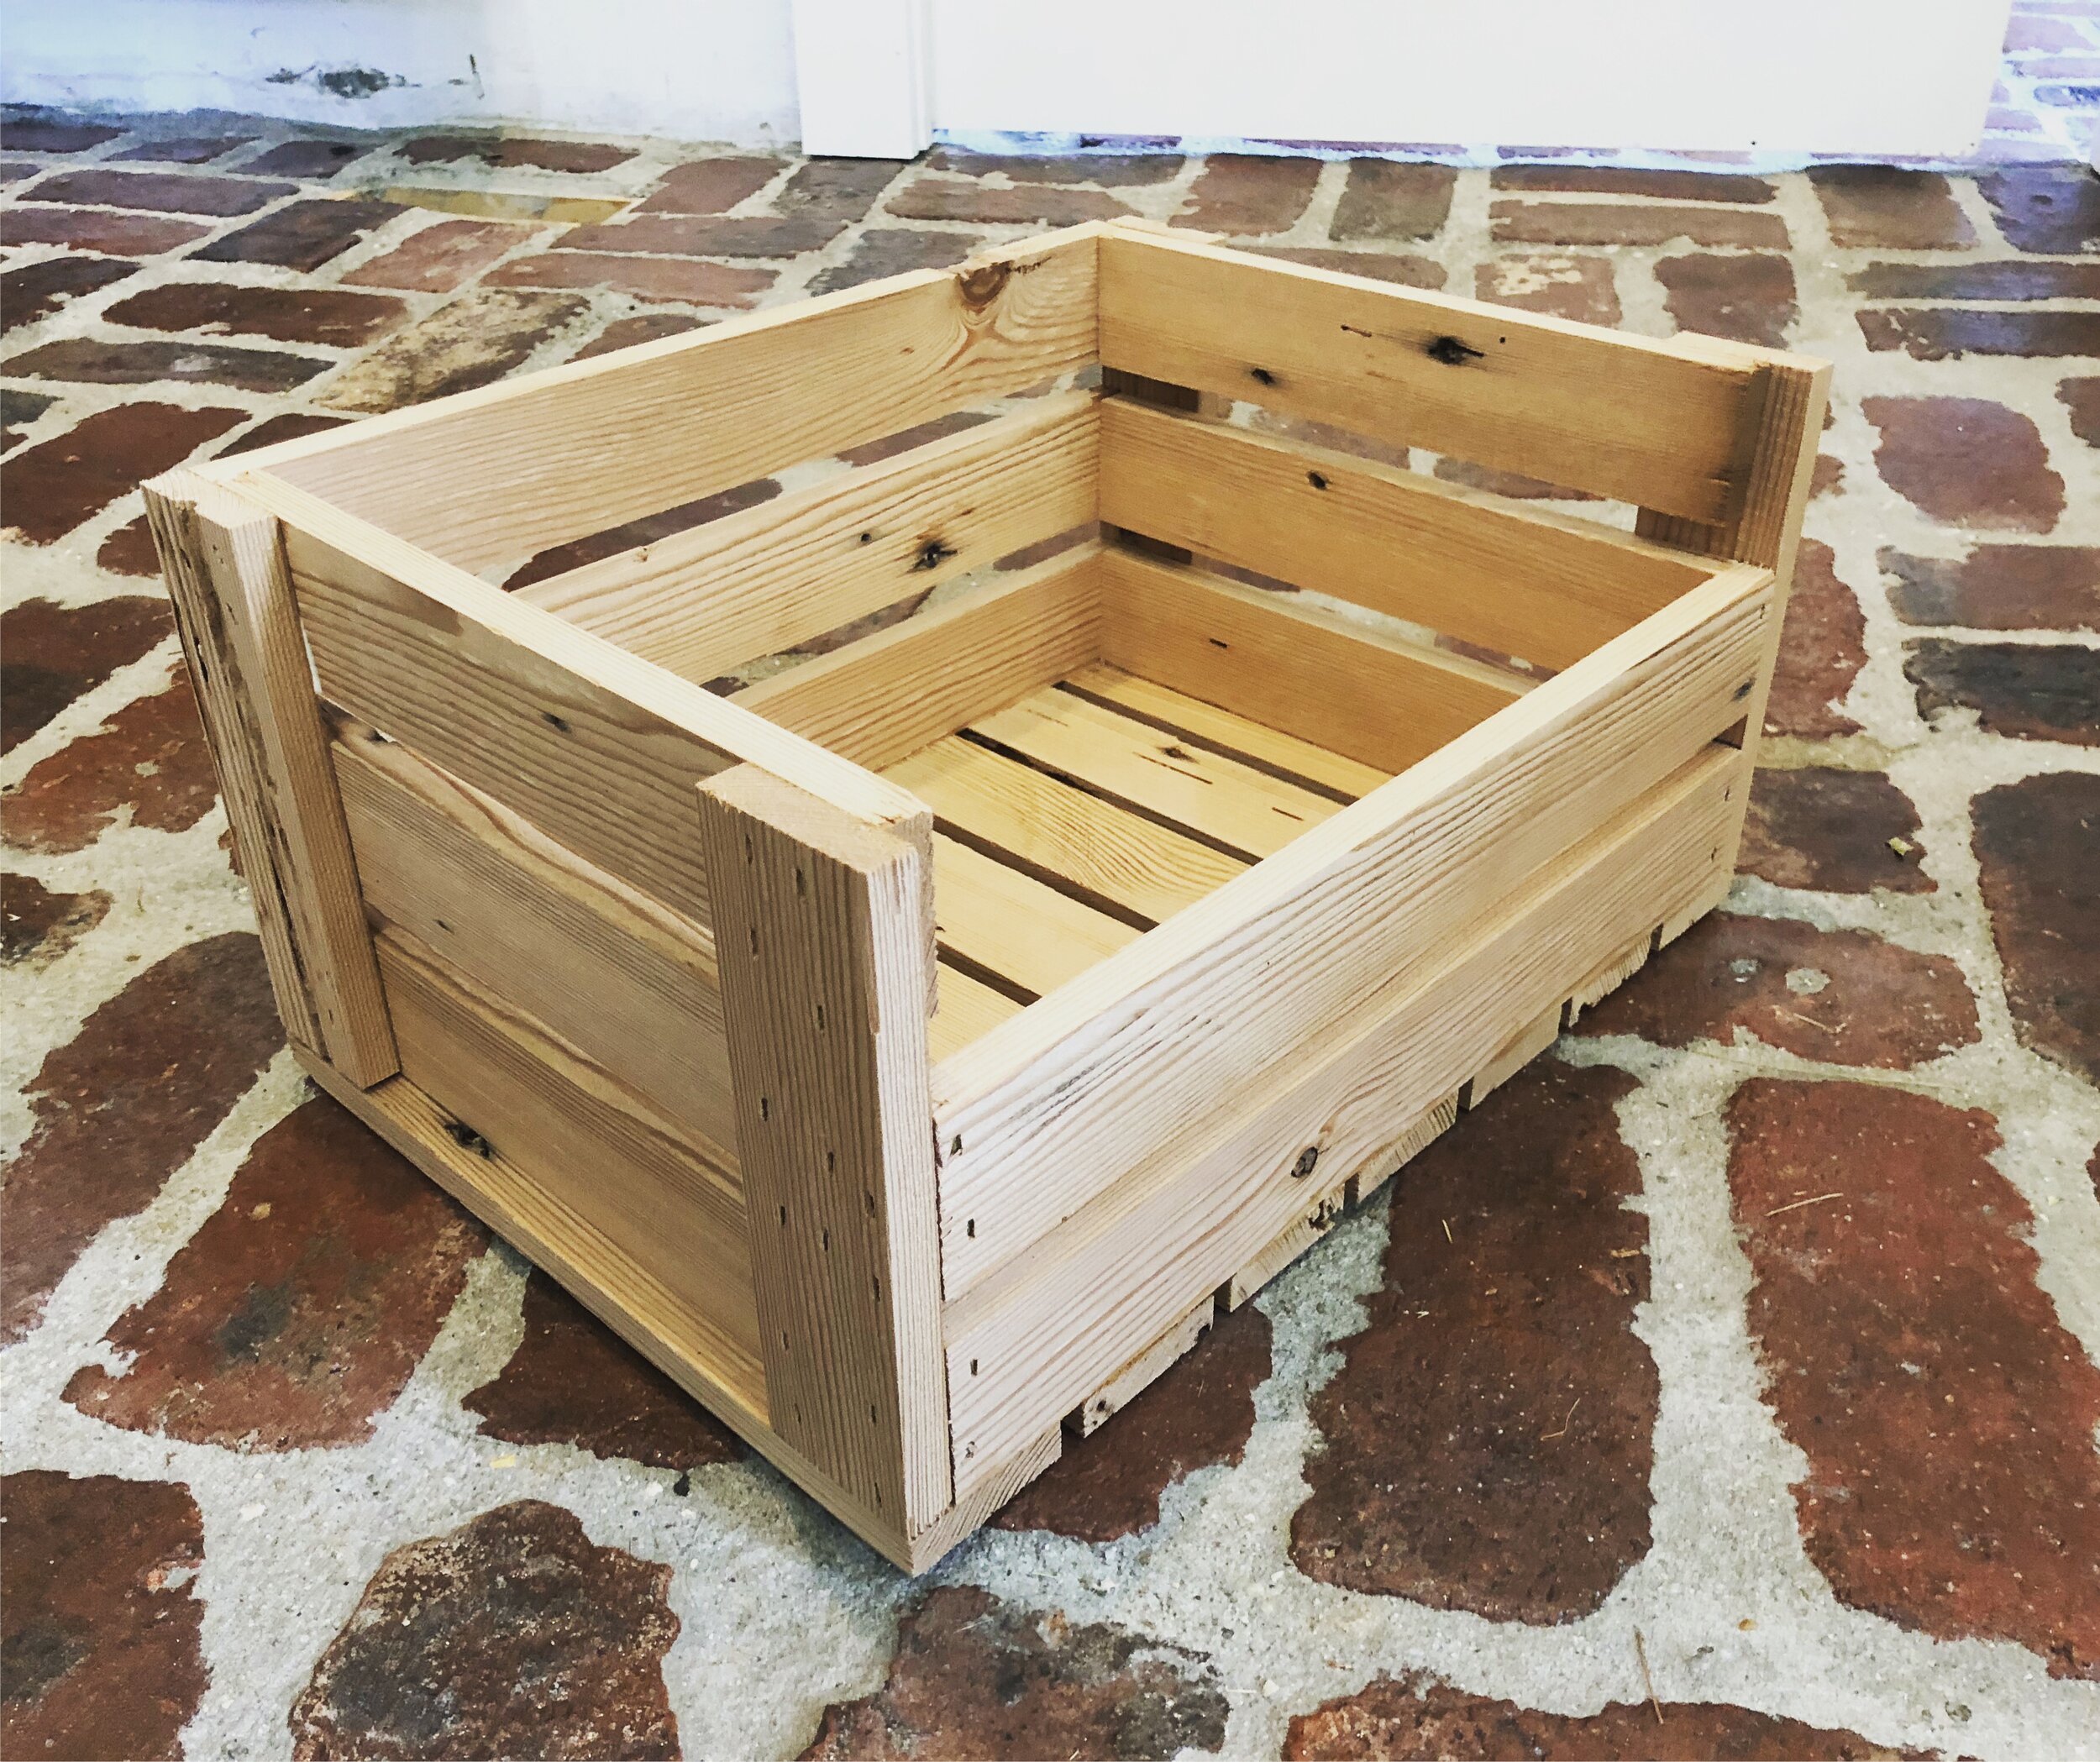
I designed the upper area of our lockers to have a smaller cubby section for storing smaller items, hats, gloves, etc. My wife and I were unable to find baskets we liked for the space, so I created this apple crates from some reclaimed pine I had in the shop. Each one also got a clear plexiglass insert on the bottom to keep anything from falling through the cracks.
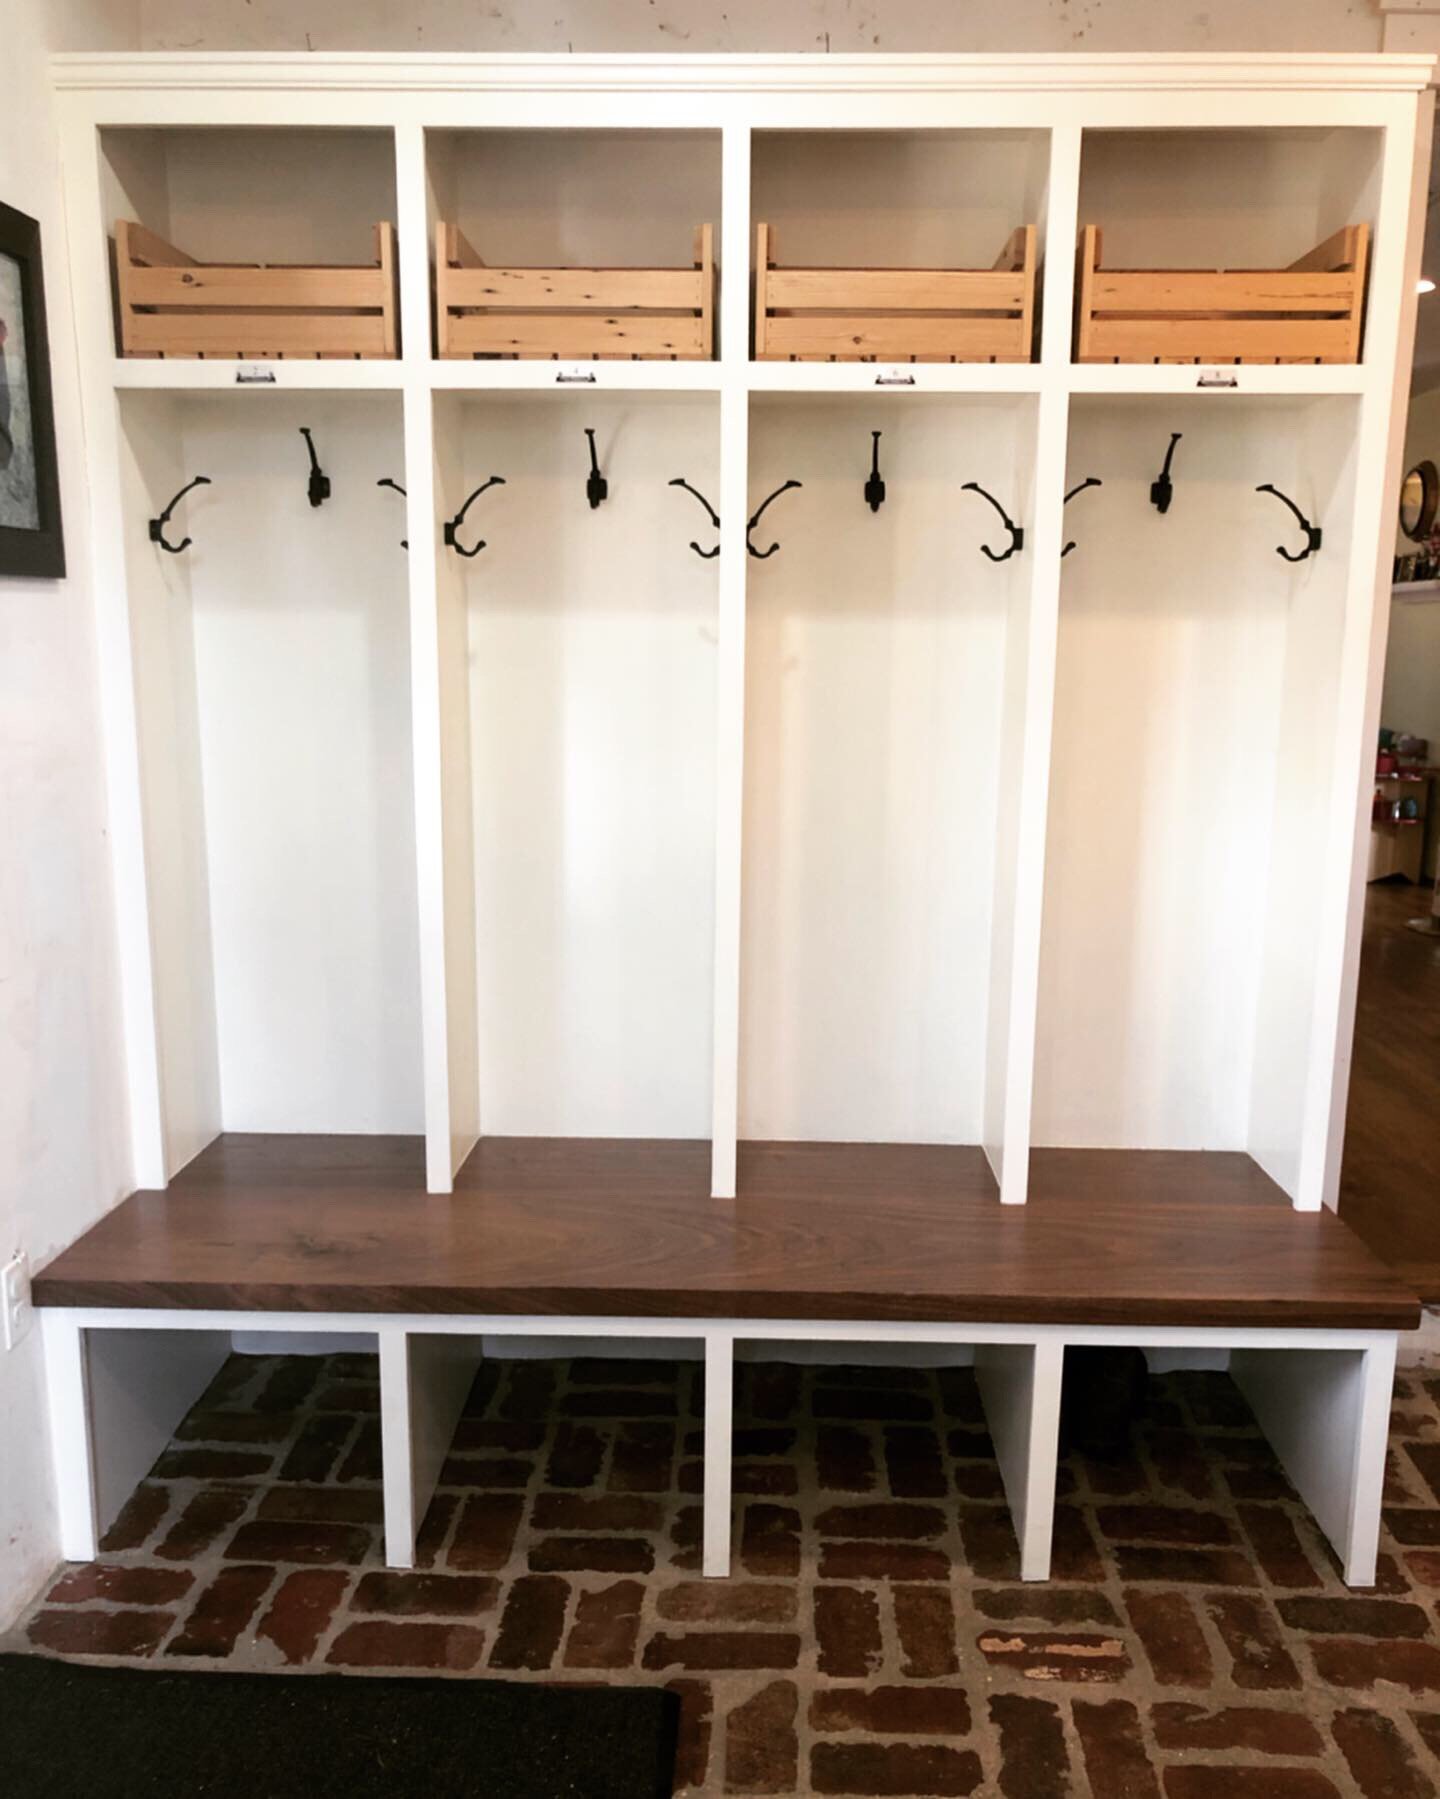
A finished shot of the completed project.
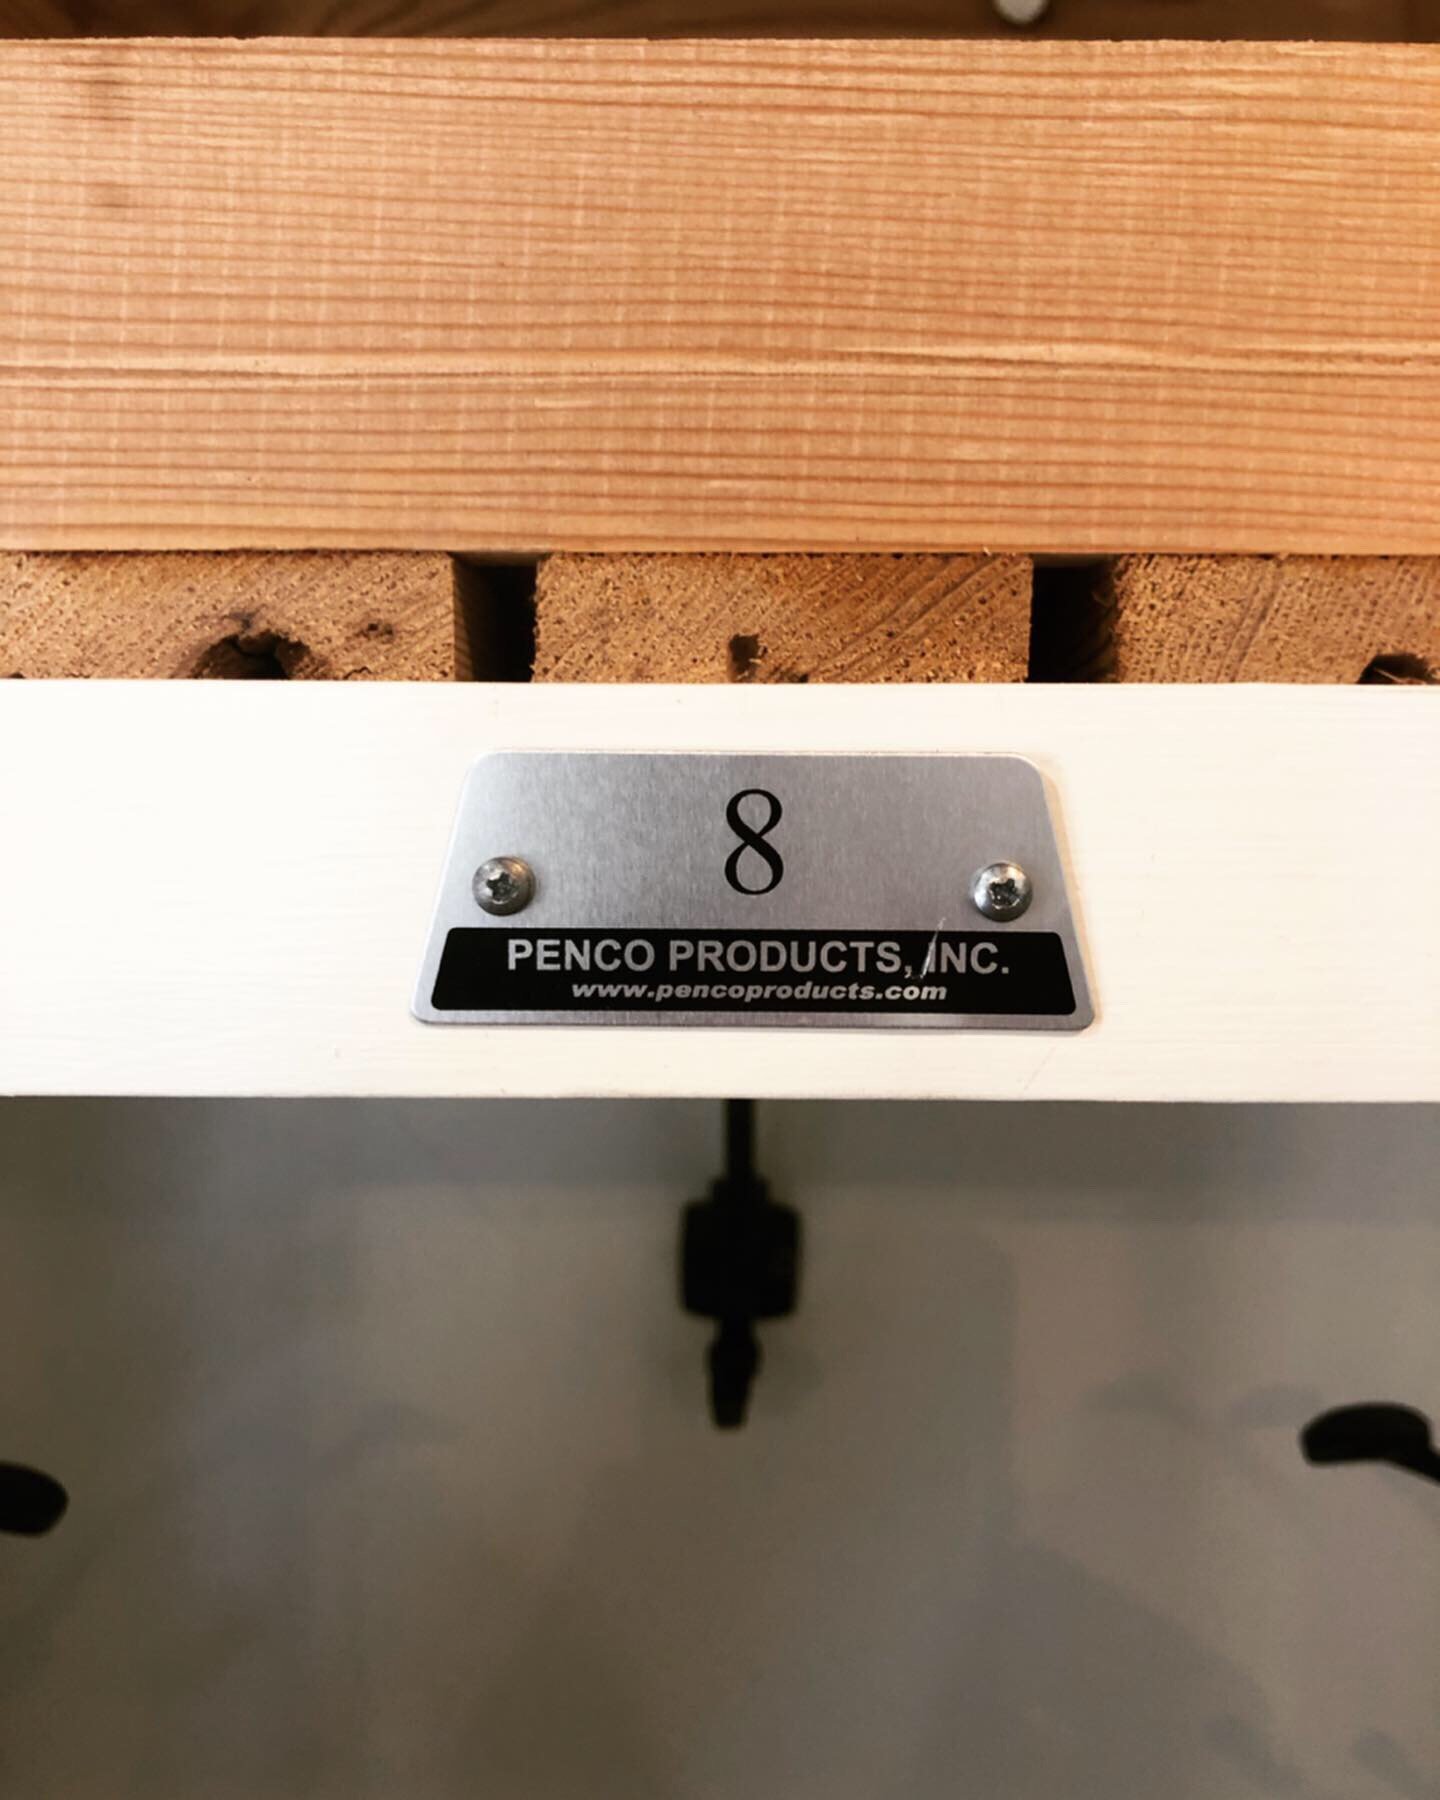
Each locker also got an authentic locker number courtesy of my father-in-law who worked for Penco Products.
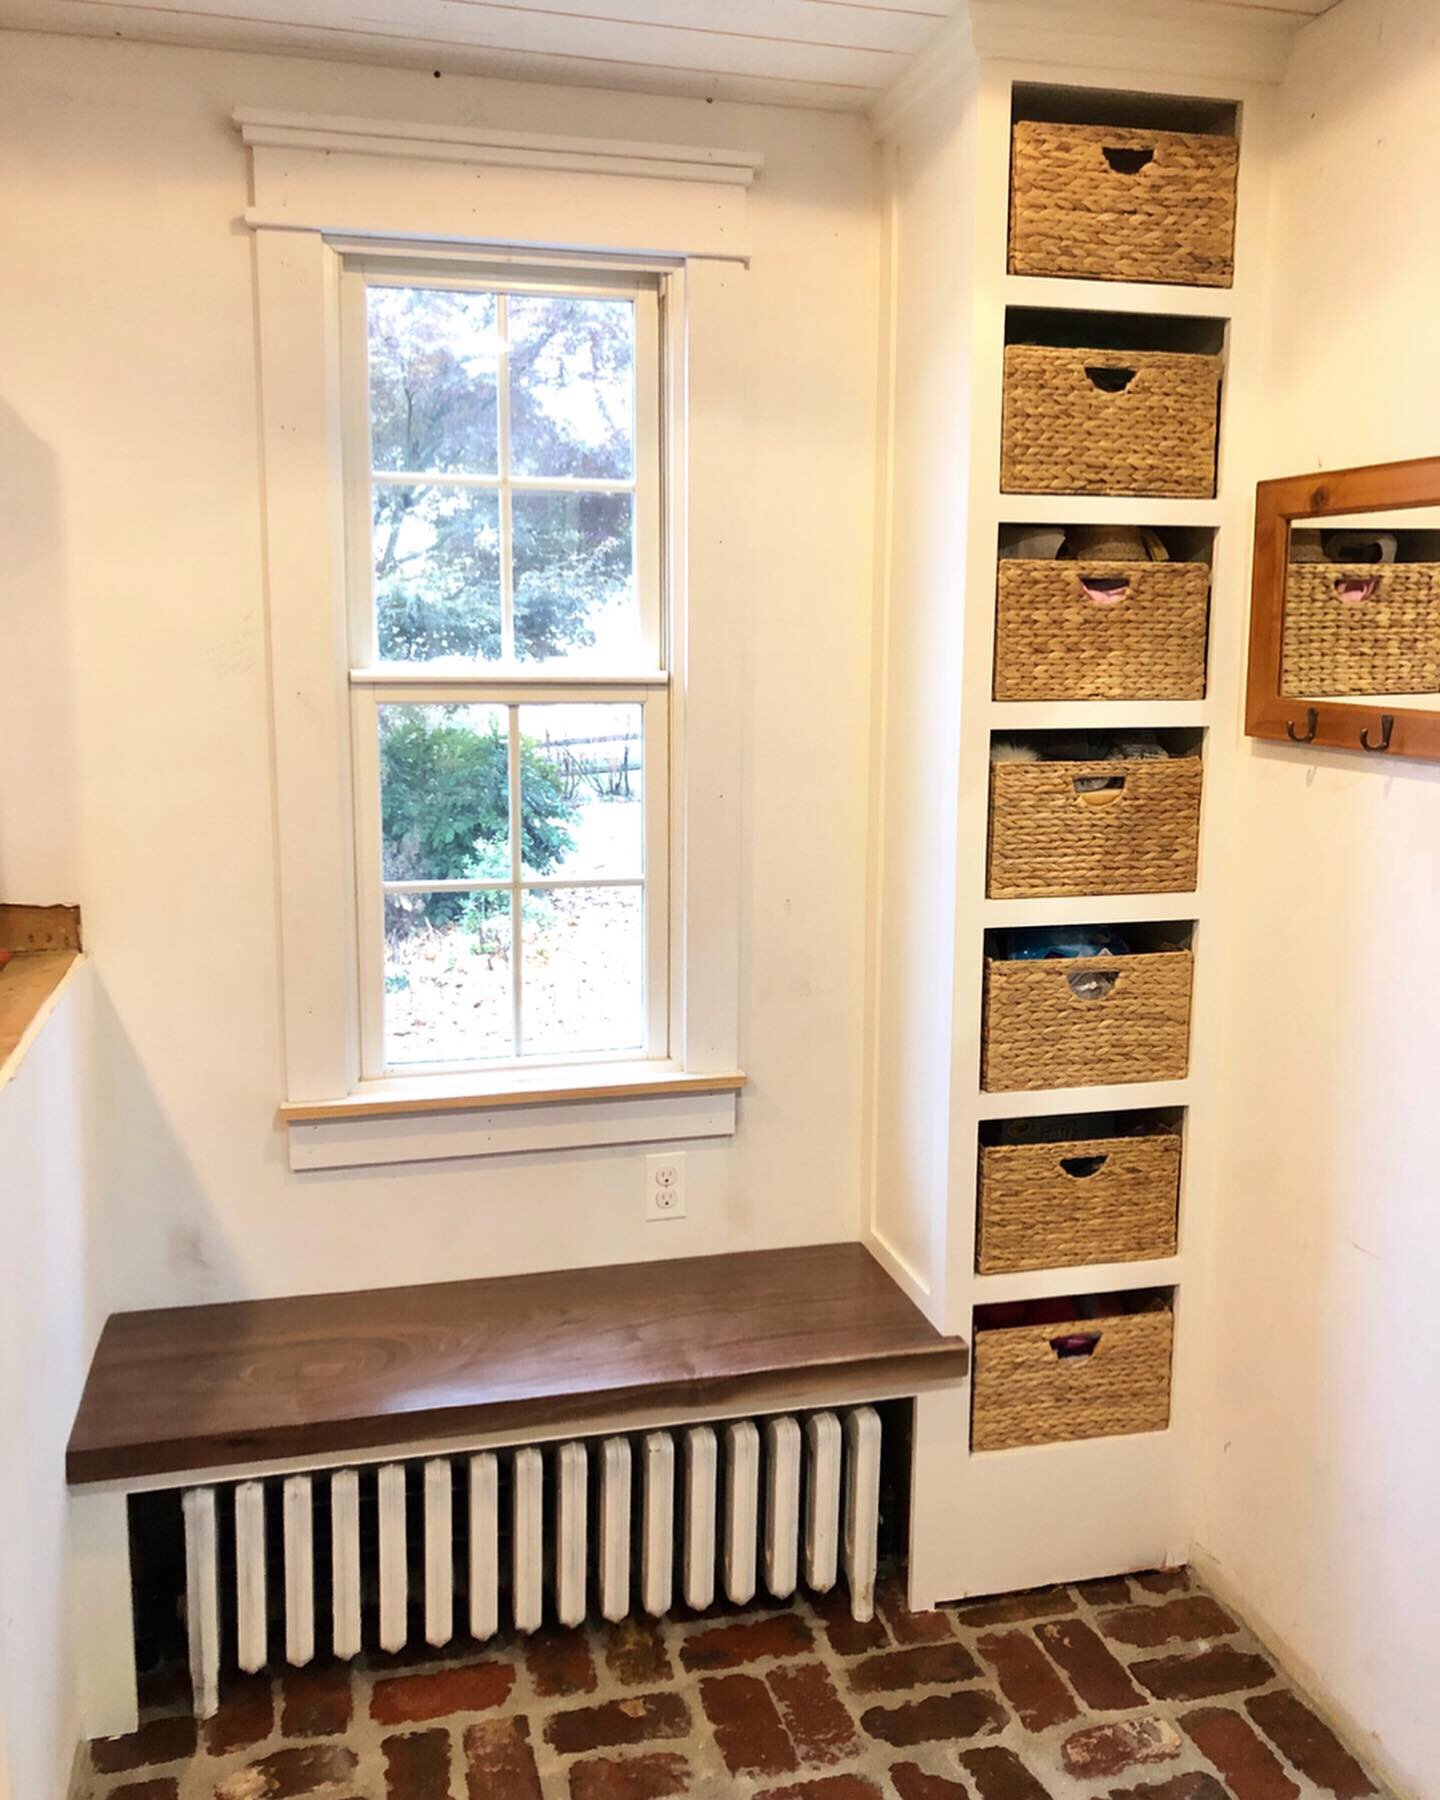
While I was putting in the lockers, I also finished up this taller shelving unit I had made previously for the other side of the room. Using a cutoff from the locker bench top, I put in a matching black walnut seat over our radiator.
